Getting Started
Welcome to Witflo! This guide will help you get started with your first encrypted workspace.
What You'll Need
- A strong master password (you won't be able to recover your data without it!)
- 5 minutes of your time
Installation
Important
Choose your master password carefully. This password cannot be recovered. If you forget it, your data cannot be decrypted.
Desktop (macOS, Linux, Windows)
Download the latest release from GitHub Releases:
- macOS: Download
.dmgfile - Linux: Download
.AppImageor.debpackage - Windows: Download
.exeinstaller
Mobile (iOS, Android)
- iOS: Download from App Store (coming soon)
- Android: Download from Google Play or F-Droid (coming soon)
Build from Source
# Clone the repository
git clone https://github.com/nativewit/witflo.git
cd witflo/witflo

# Install dependencies (requires FVM)
fvm install && fvm use
fvm flutter pub get

# Run on your platform
fvm flutter run
First Launch
When you first launch Witflo, you'll be greeted with the onboarding flow.
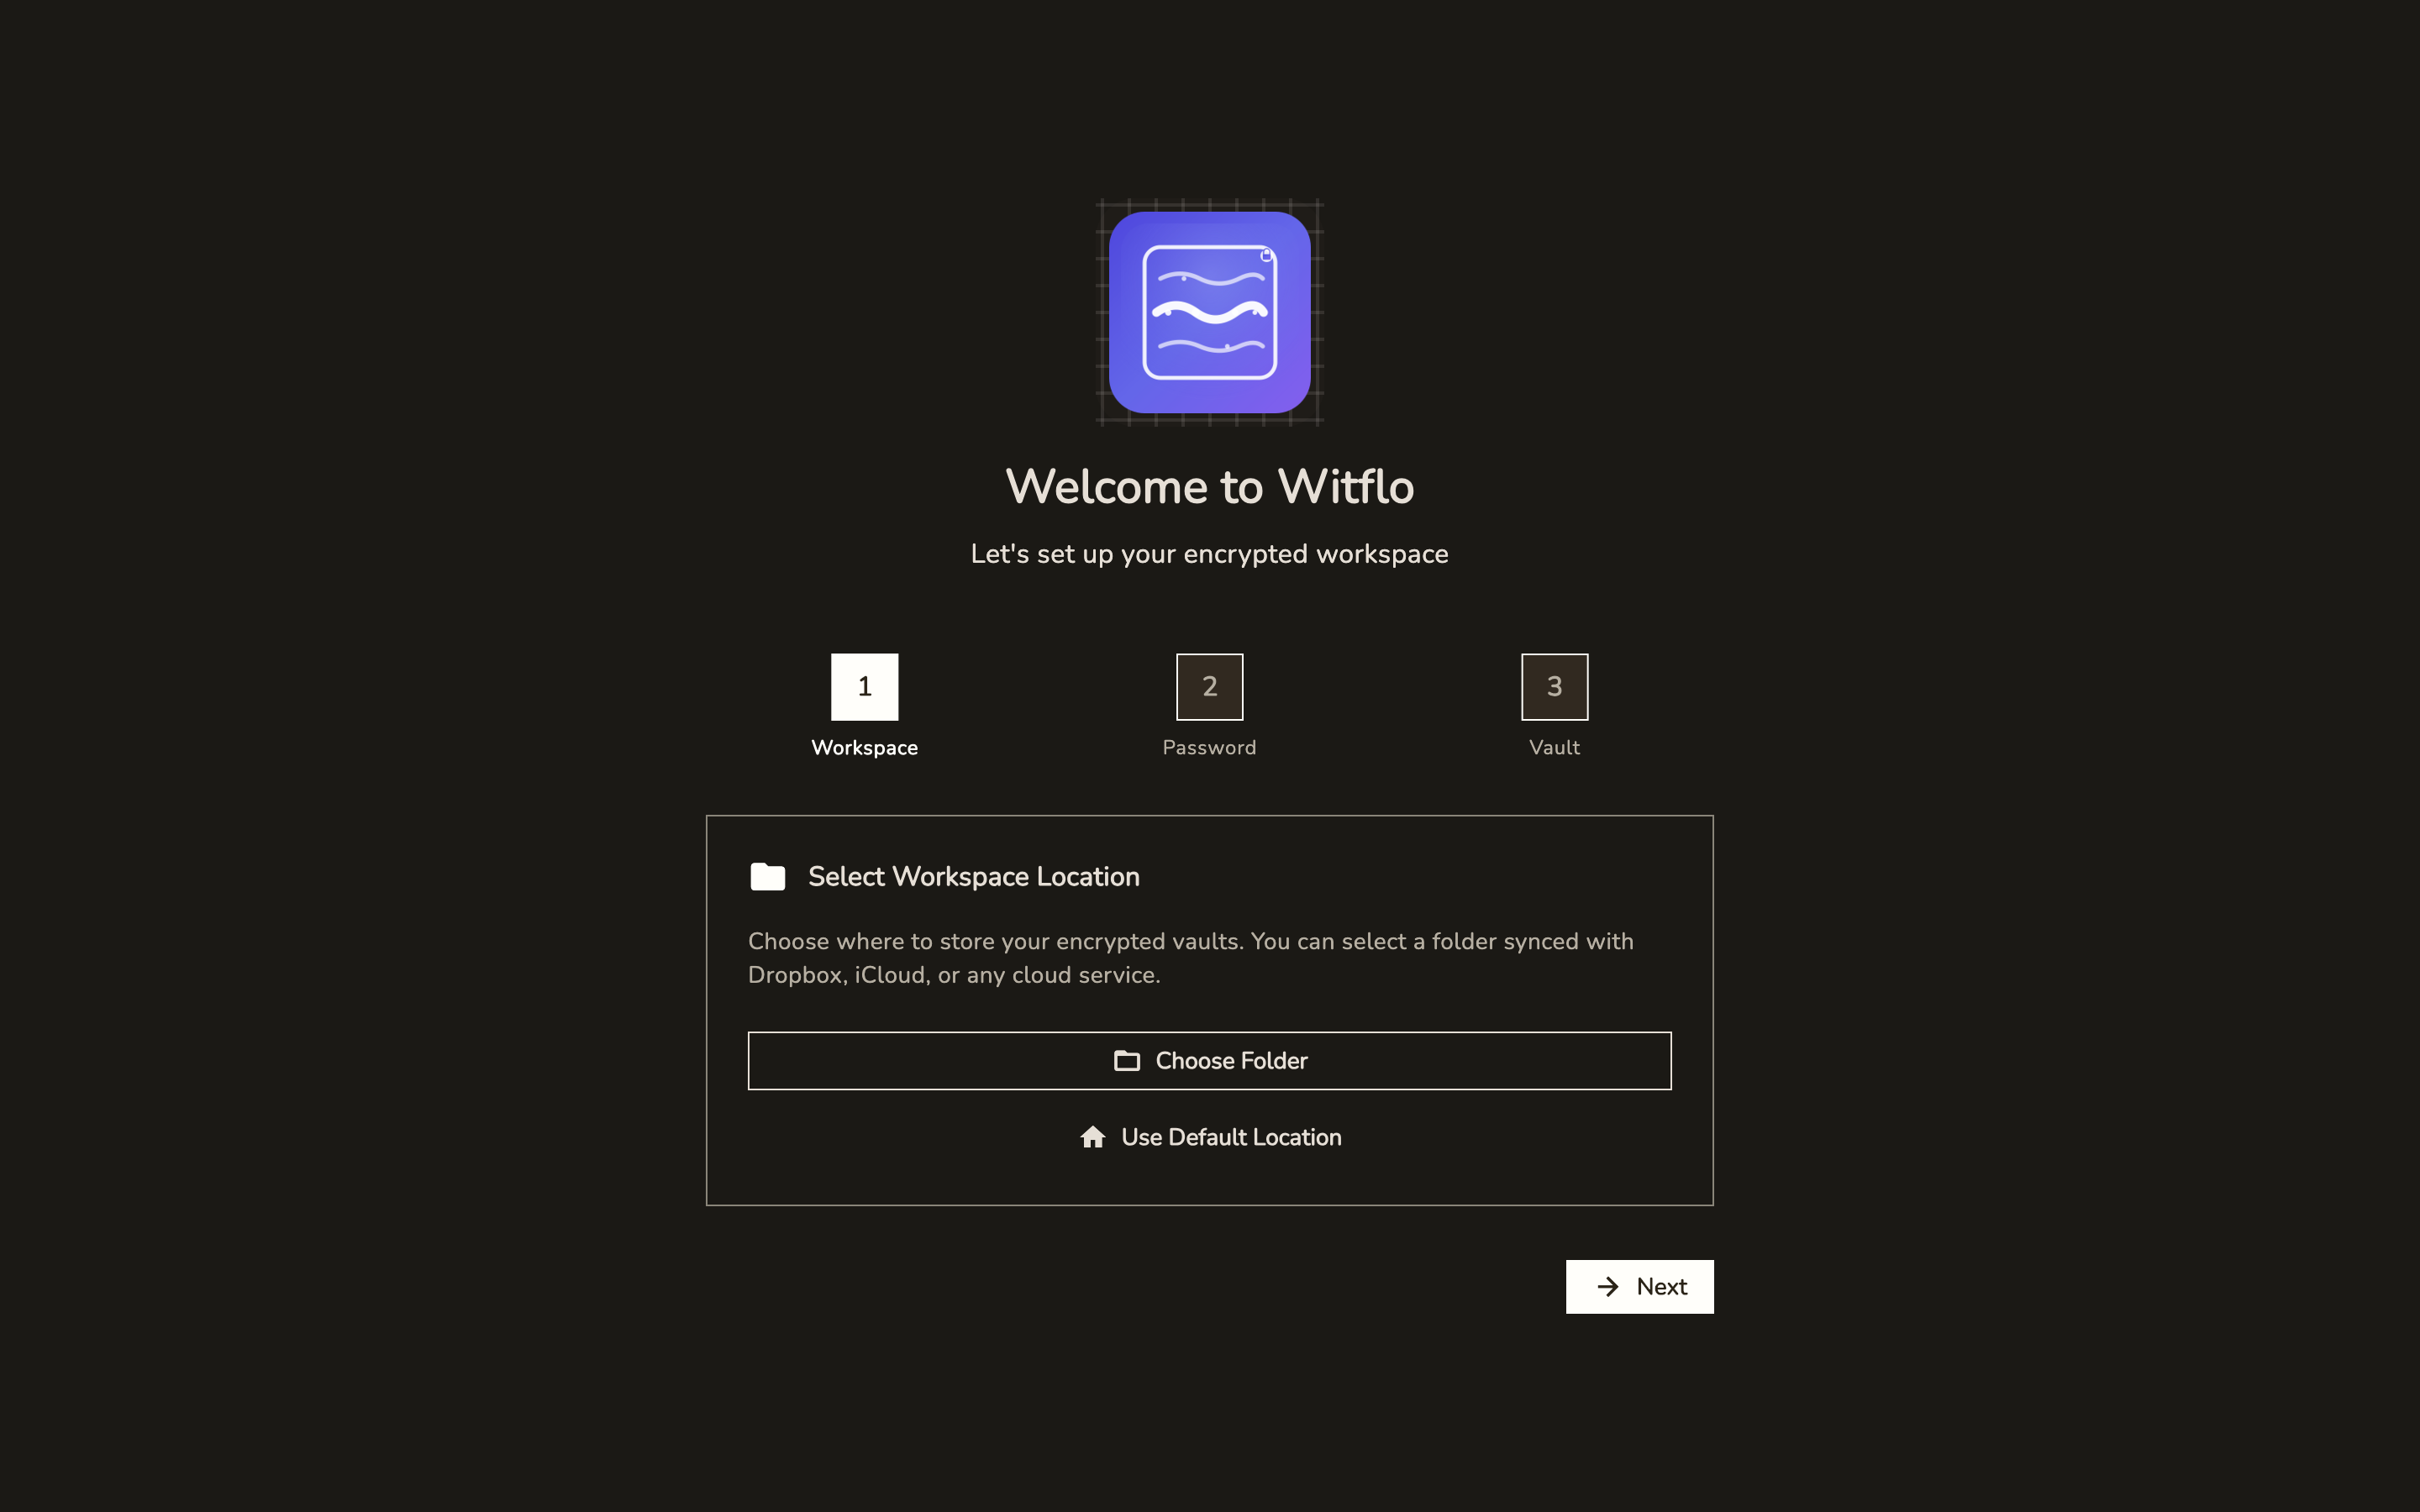
Step 1: Choose Workspace Location
First, select where you want to store your encrypted workspace data.
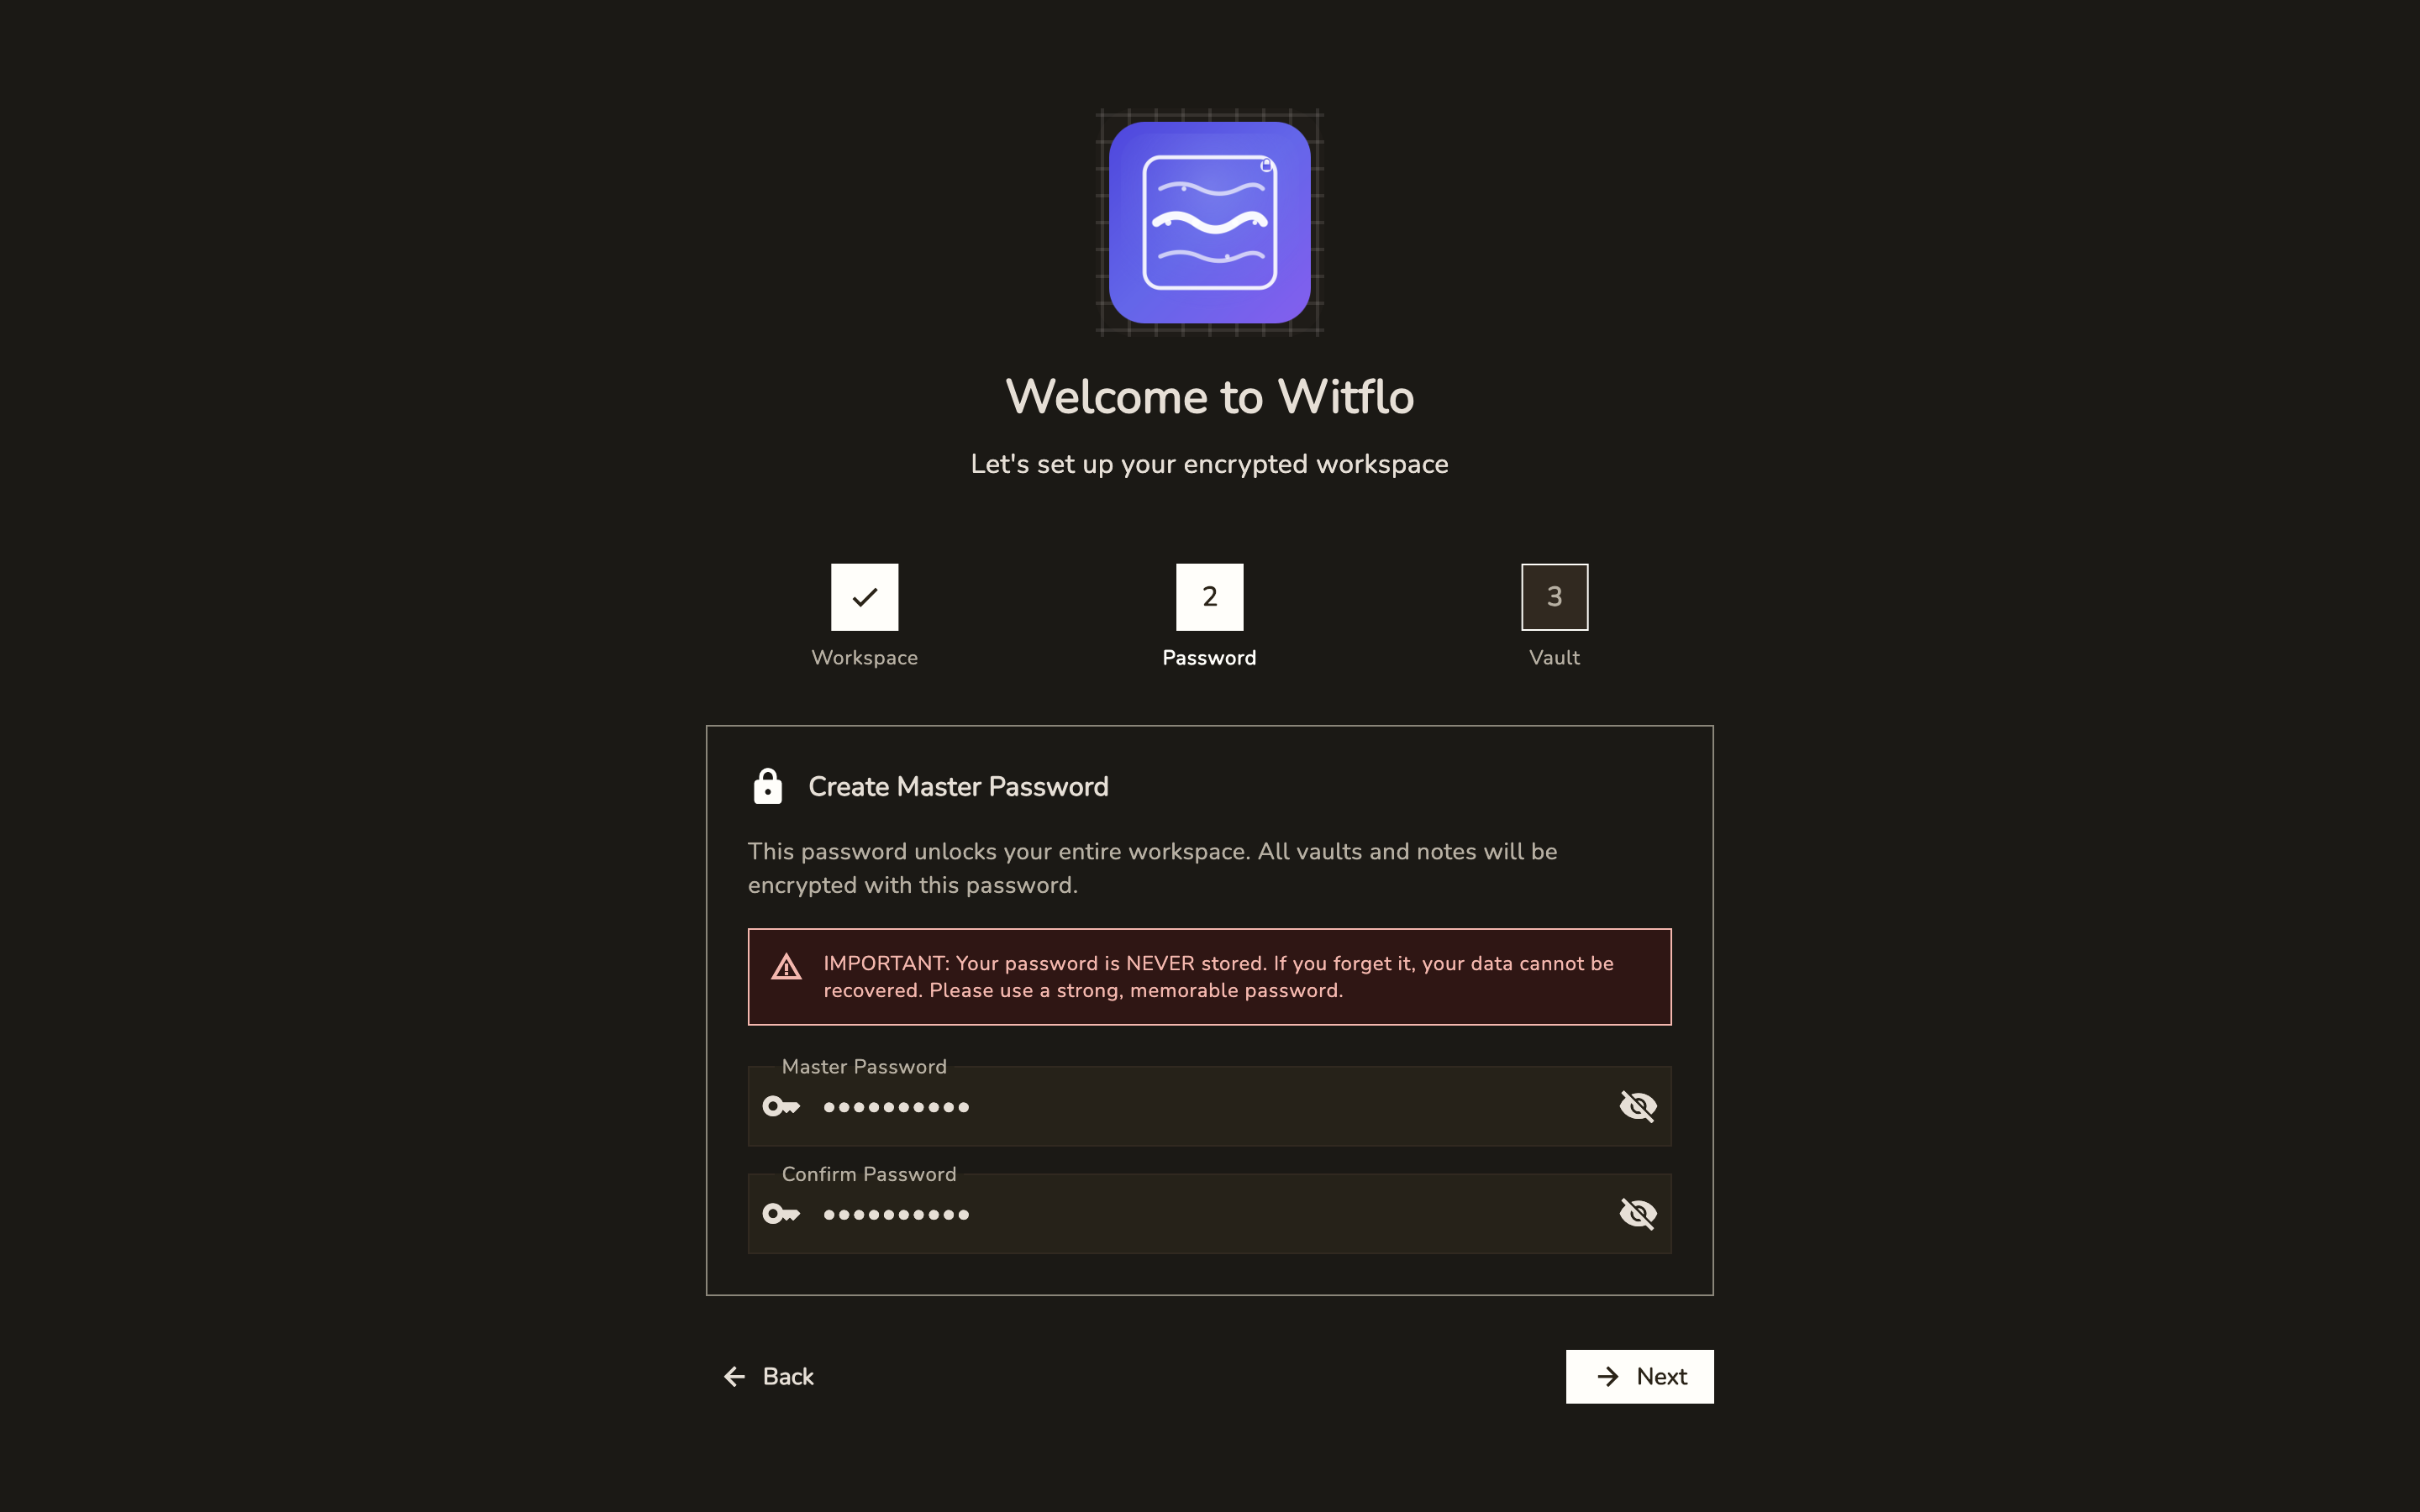
Step 2: Create Master Password
Set up your master password - this is the key to all your encrypted data. Make it strong and memorable!
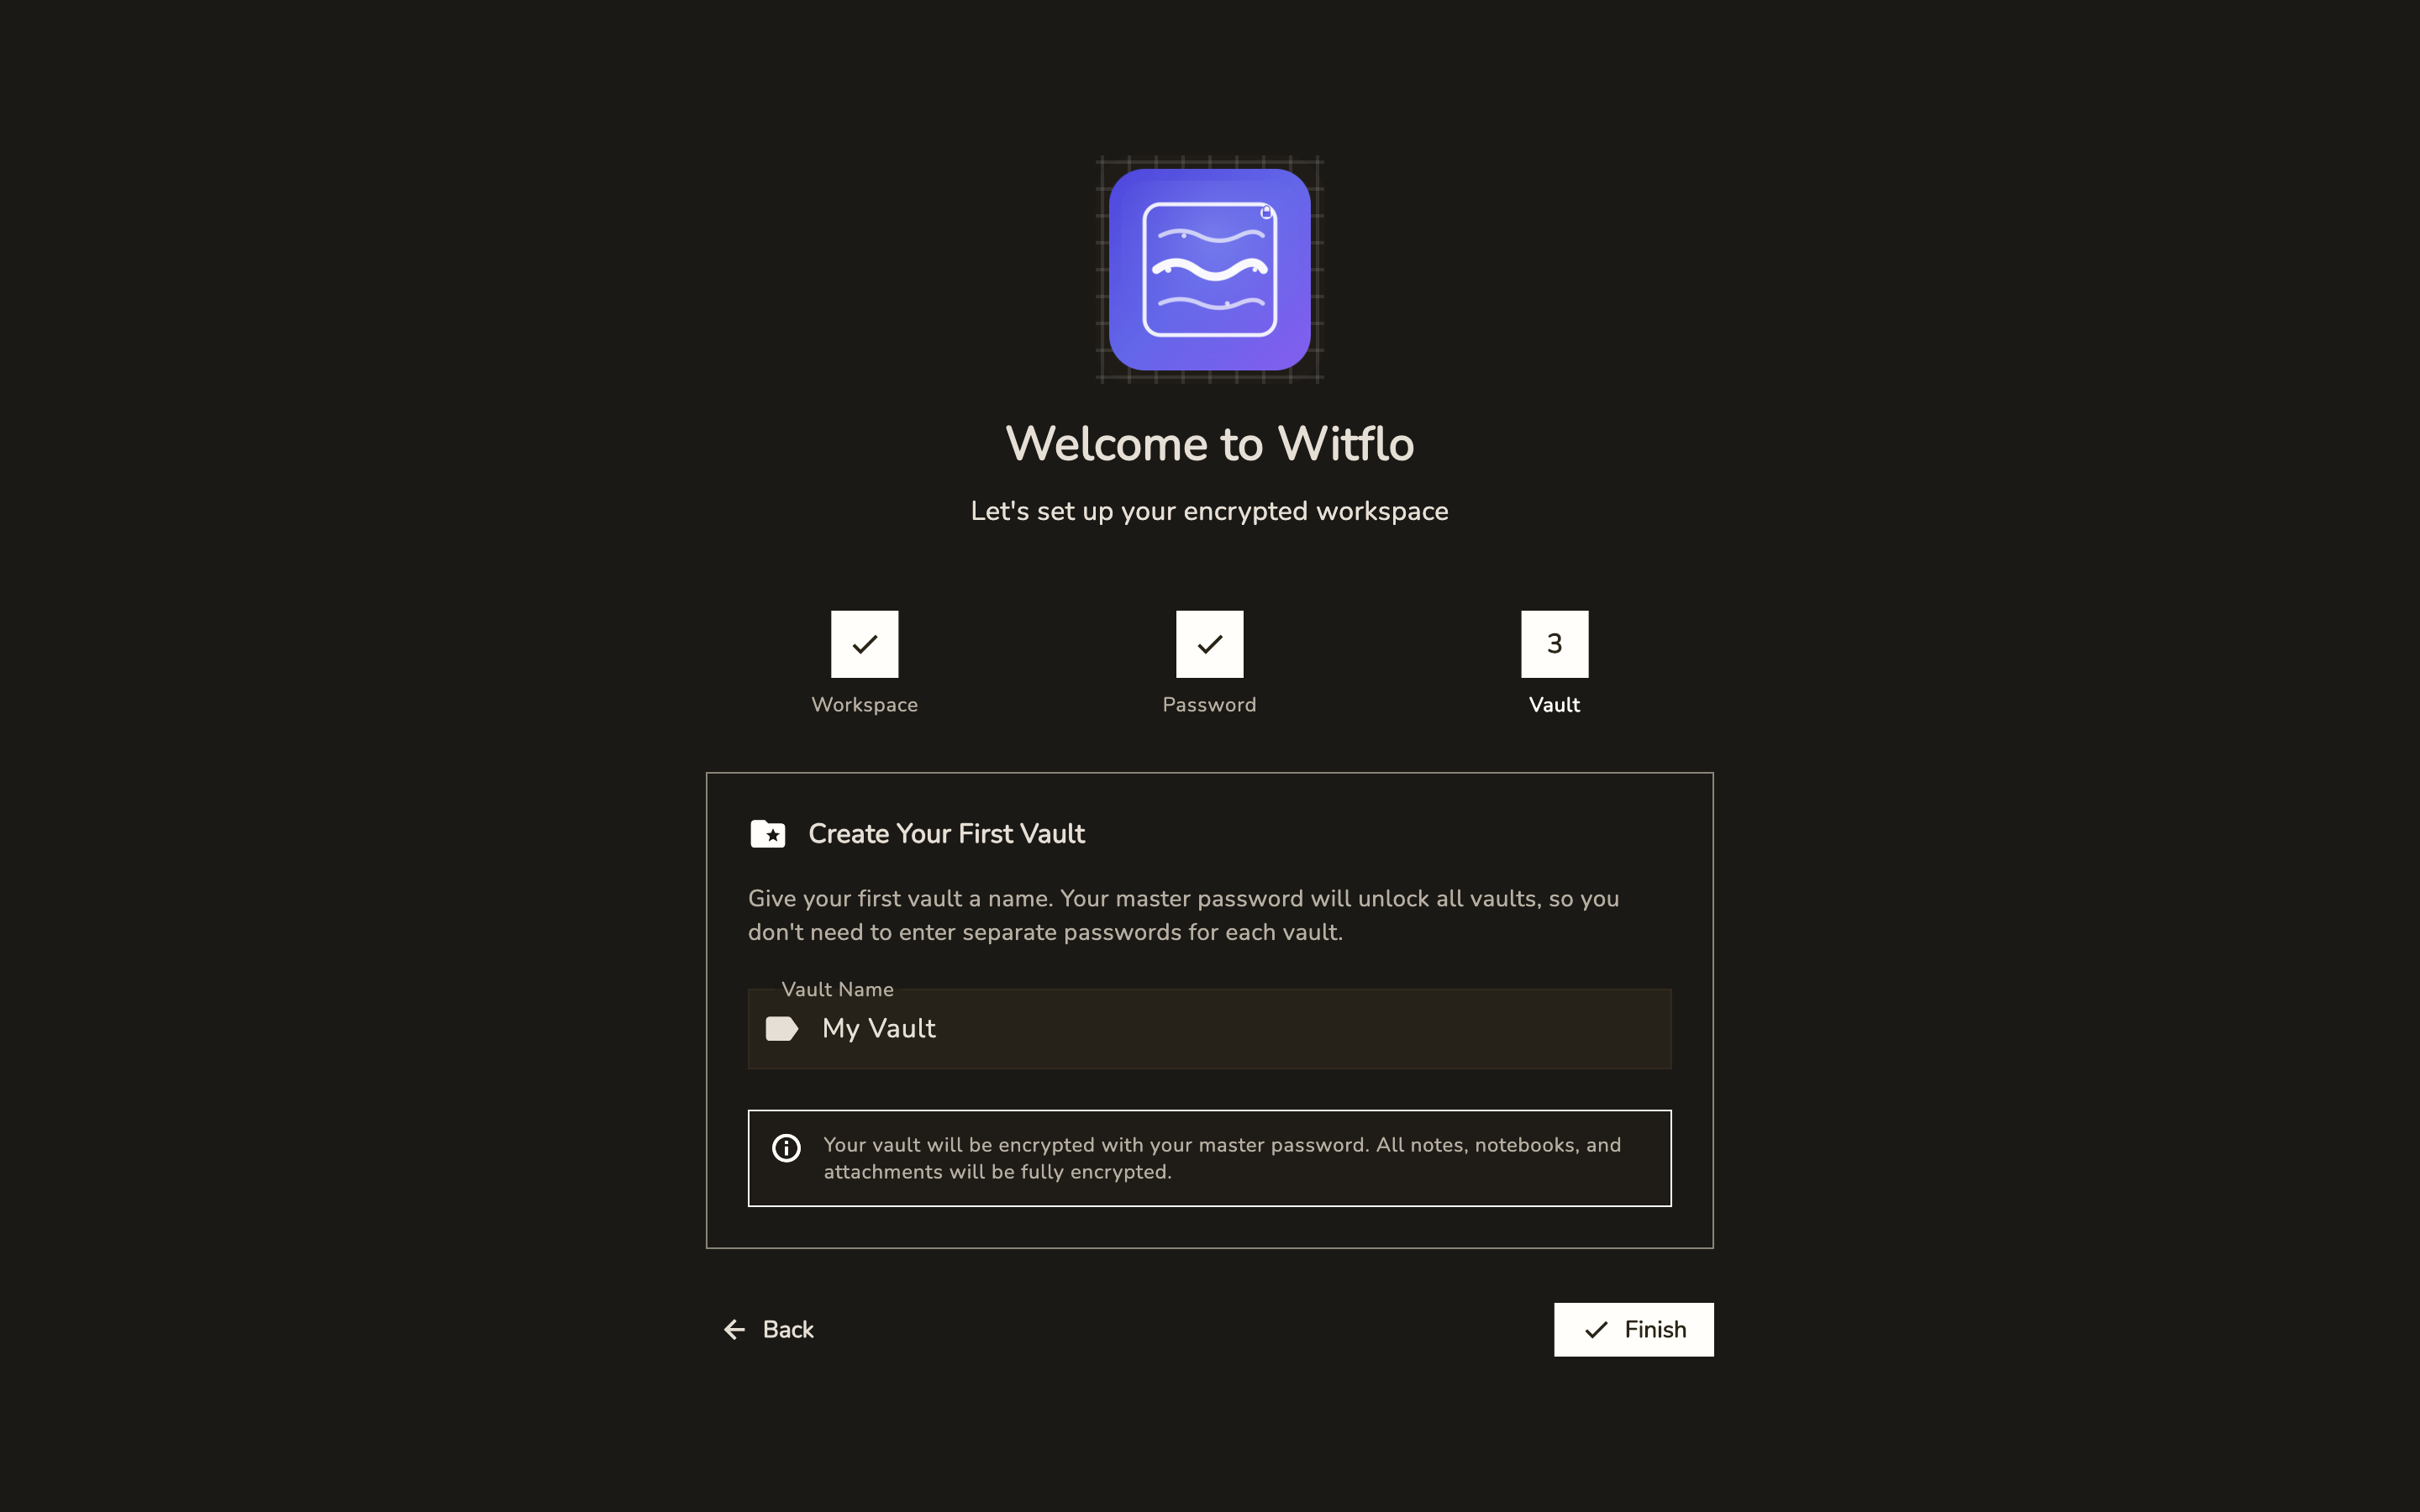
Creating Your First Workspace
- Choose a workspace name - e.g., "Personal", "Work", "Projects"
- Set a master password - Make it strong and memorable
- Confirm your password - Type it again to confirm
- Create workspace - Your encrypted workspace is ready!

Password Tips
- Use a passphrase: "correct horse battery staple"
- Use a password manager to generate and store it
- Minimum 12 characters recommended
- Mix letters, numbers, and symbols
Creating Your First Note
Once your workspace is created, you'll see the main app interface.
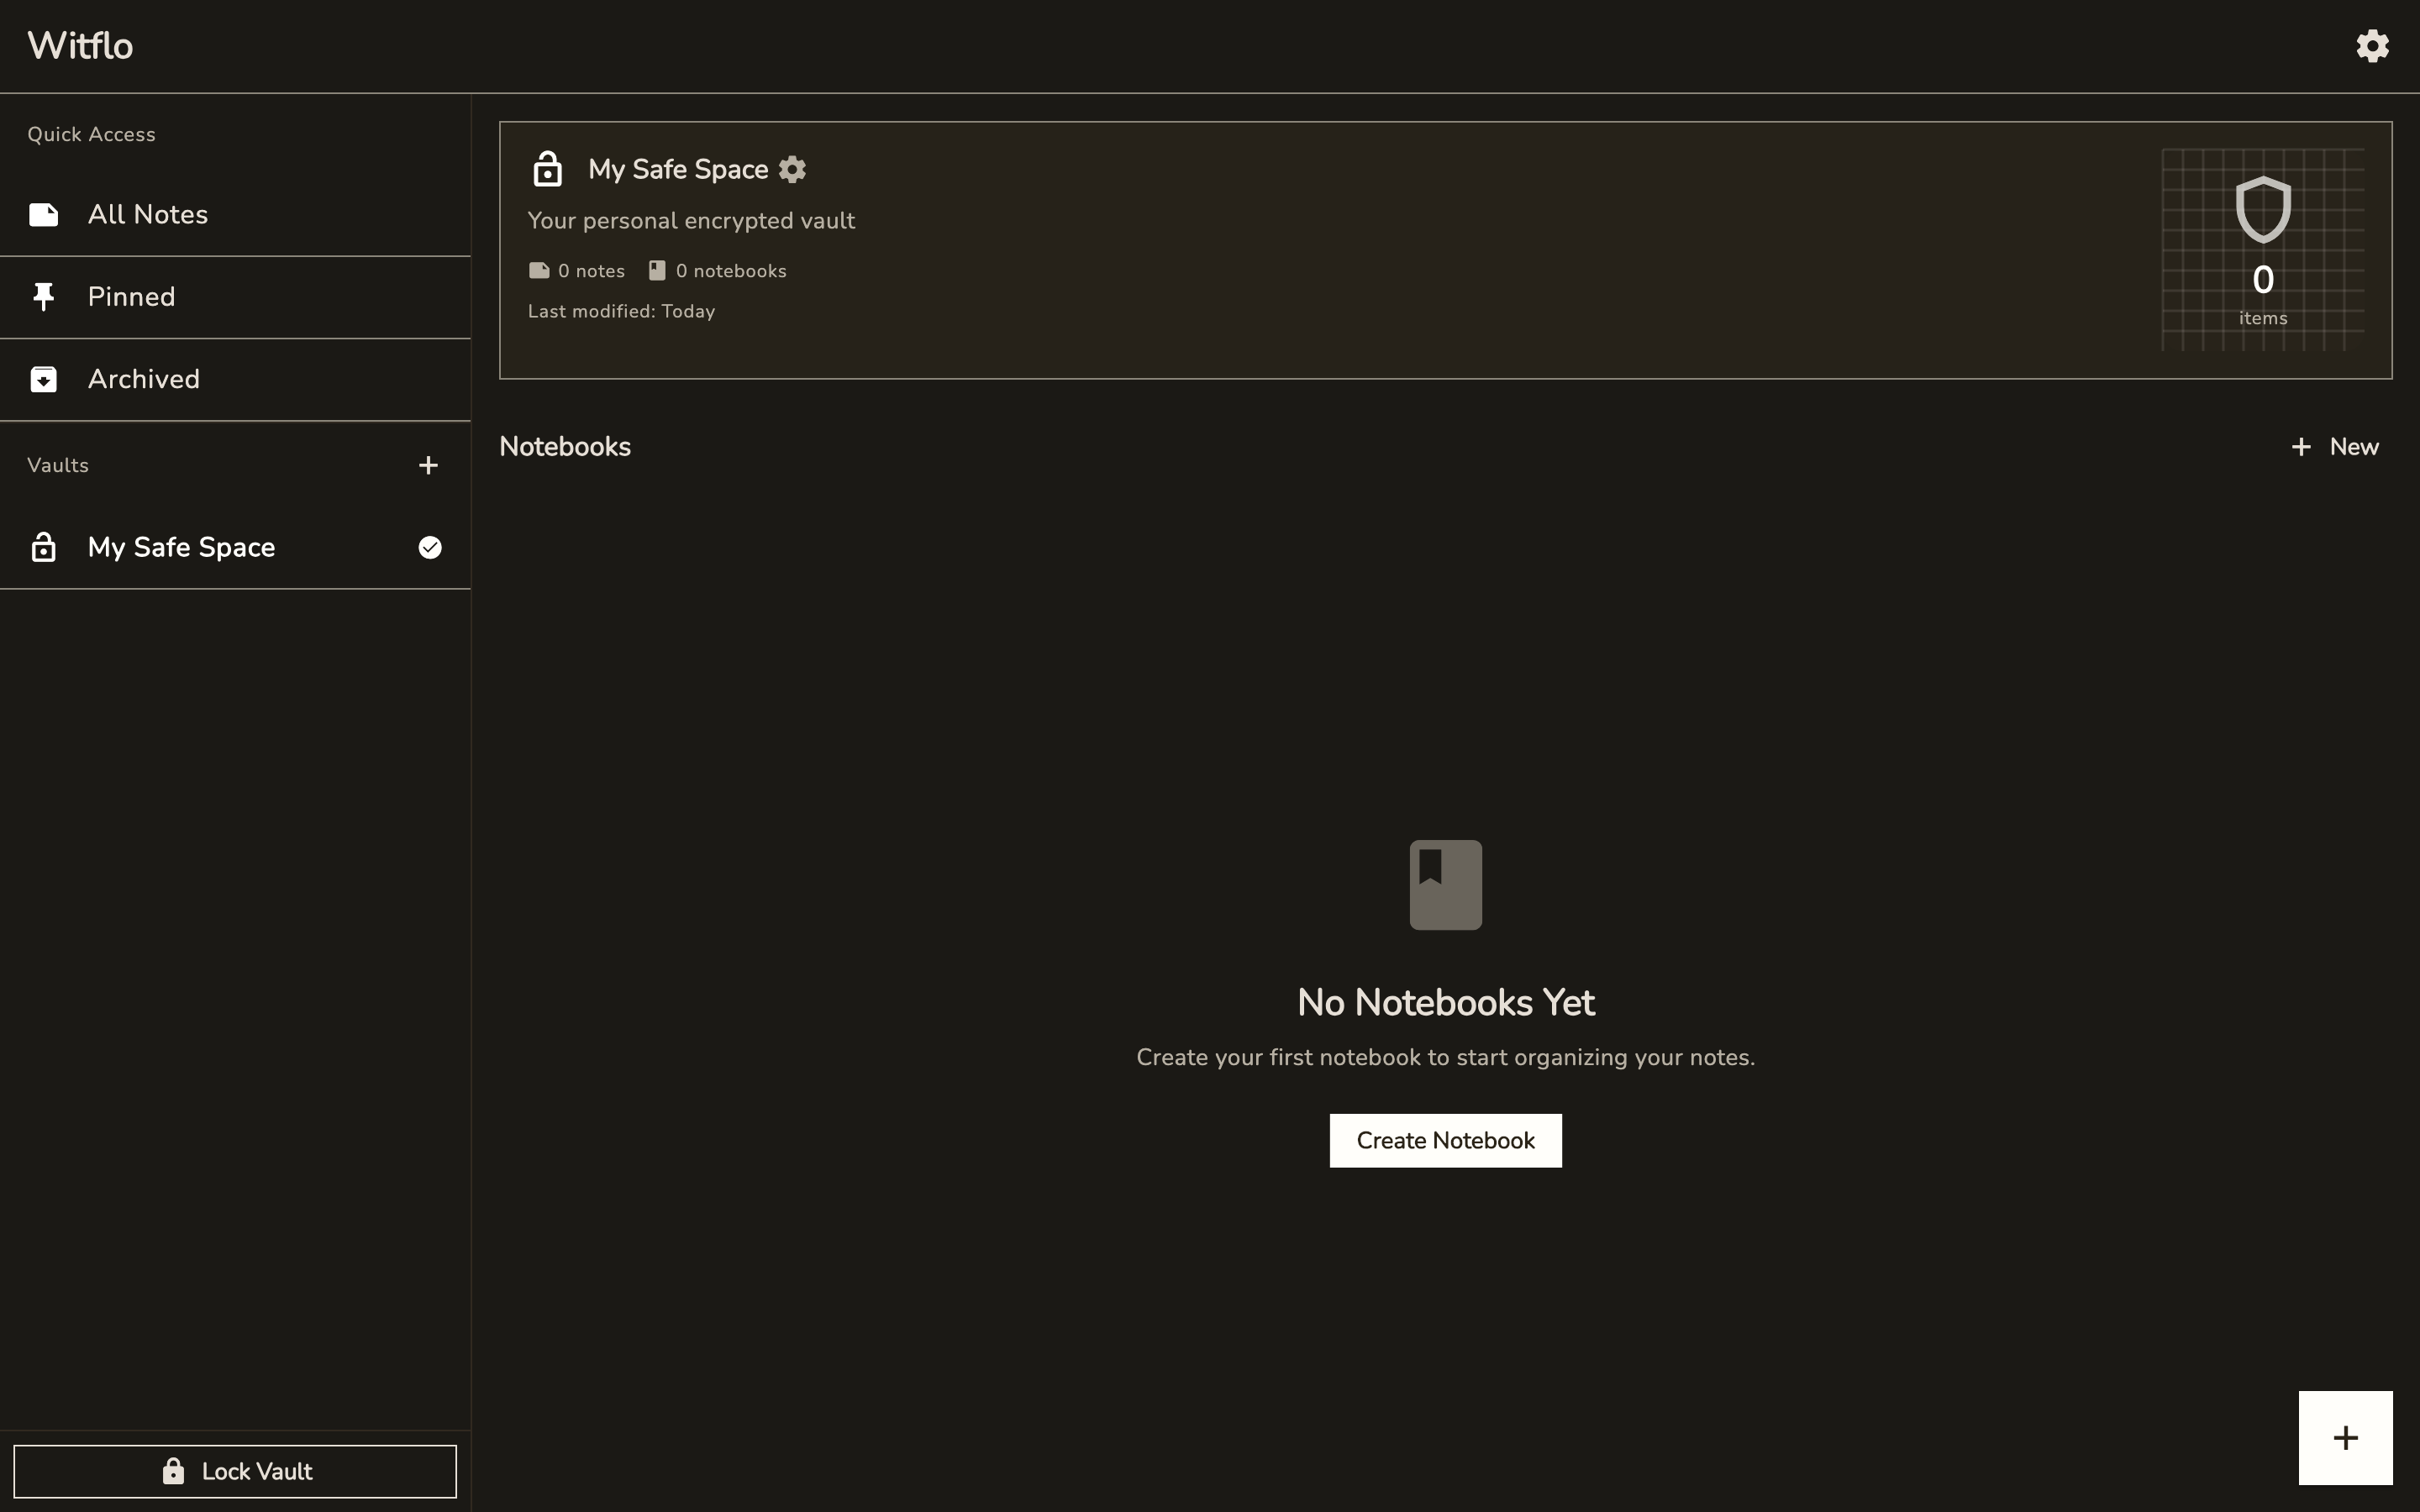
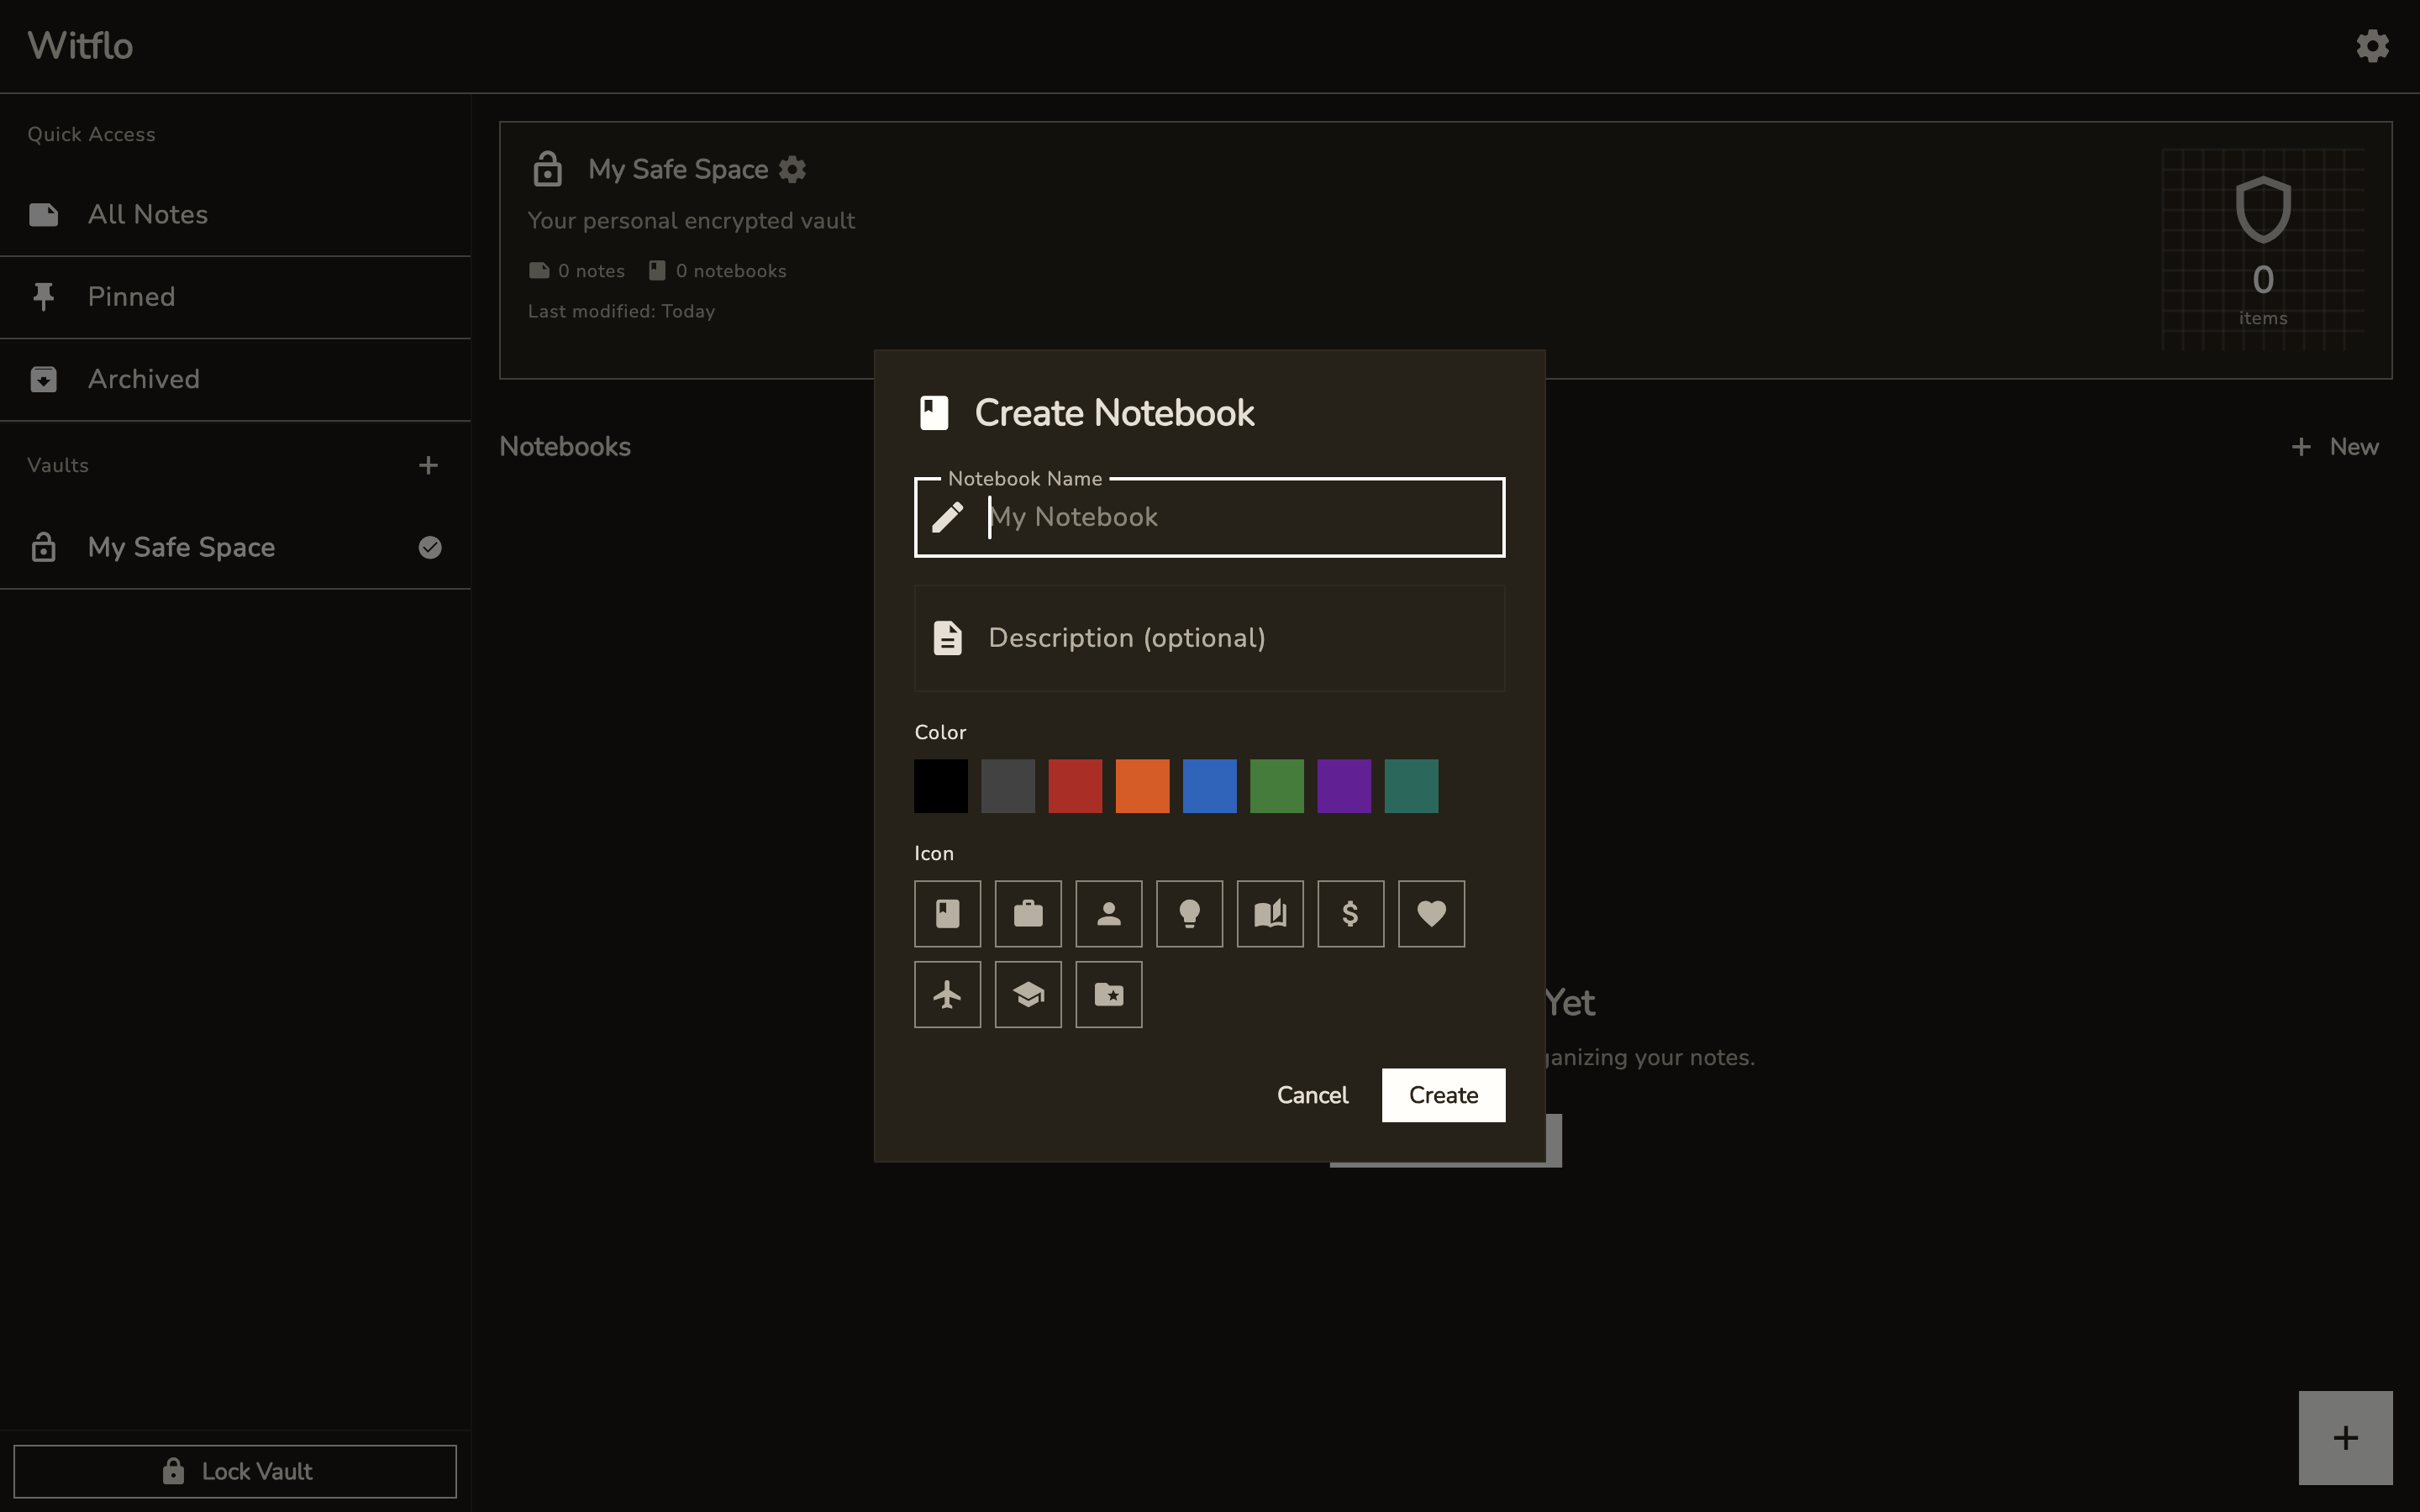
Create a Notebook (Optional)
Before creating notes, you can organize them into notebooks:
- Click the "Create Notebook" button
- Give your notebook a name
- Choose a color to visually distinguish it
- Click "Create"

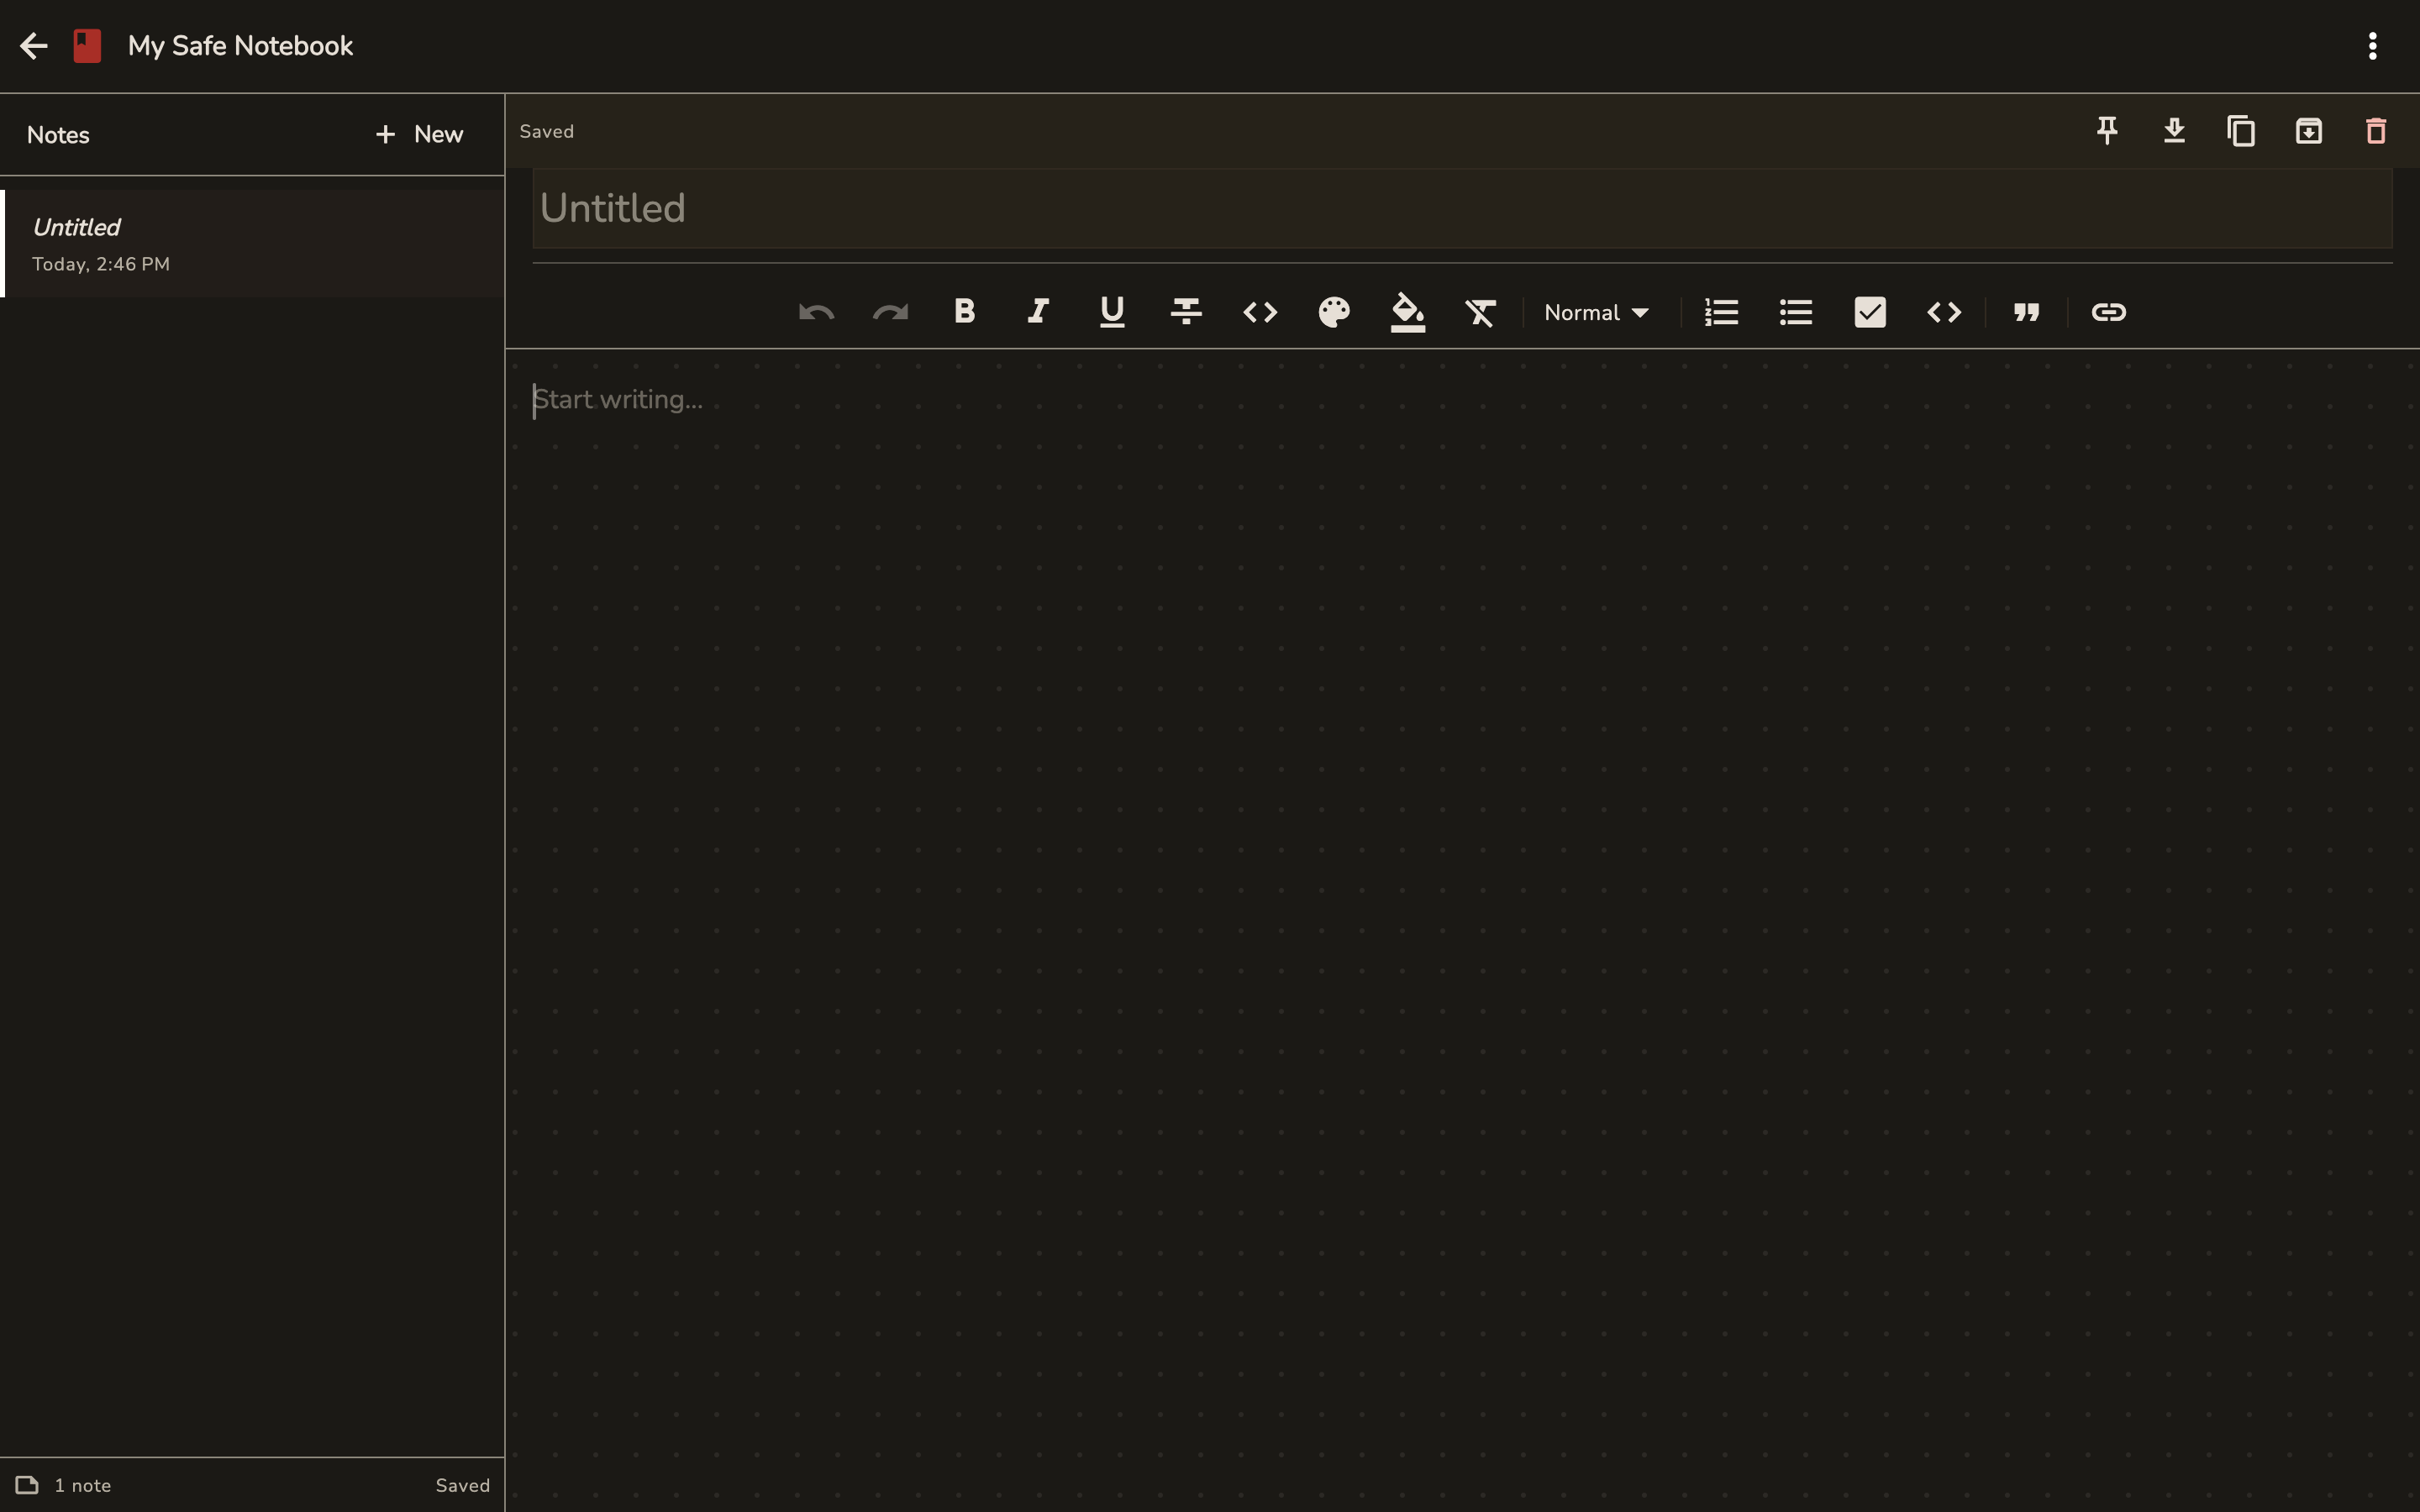
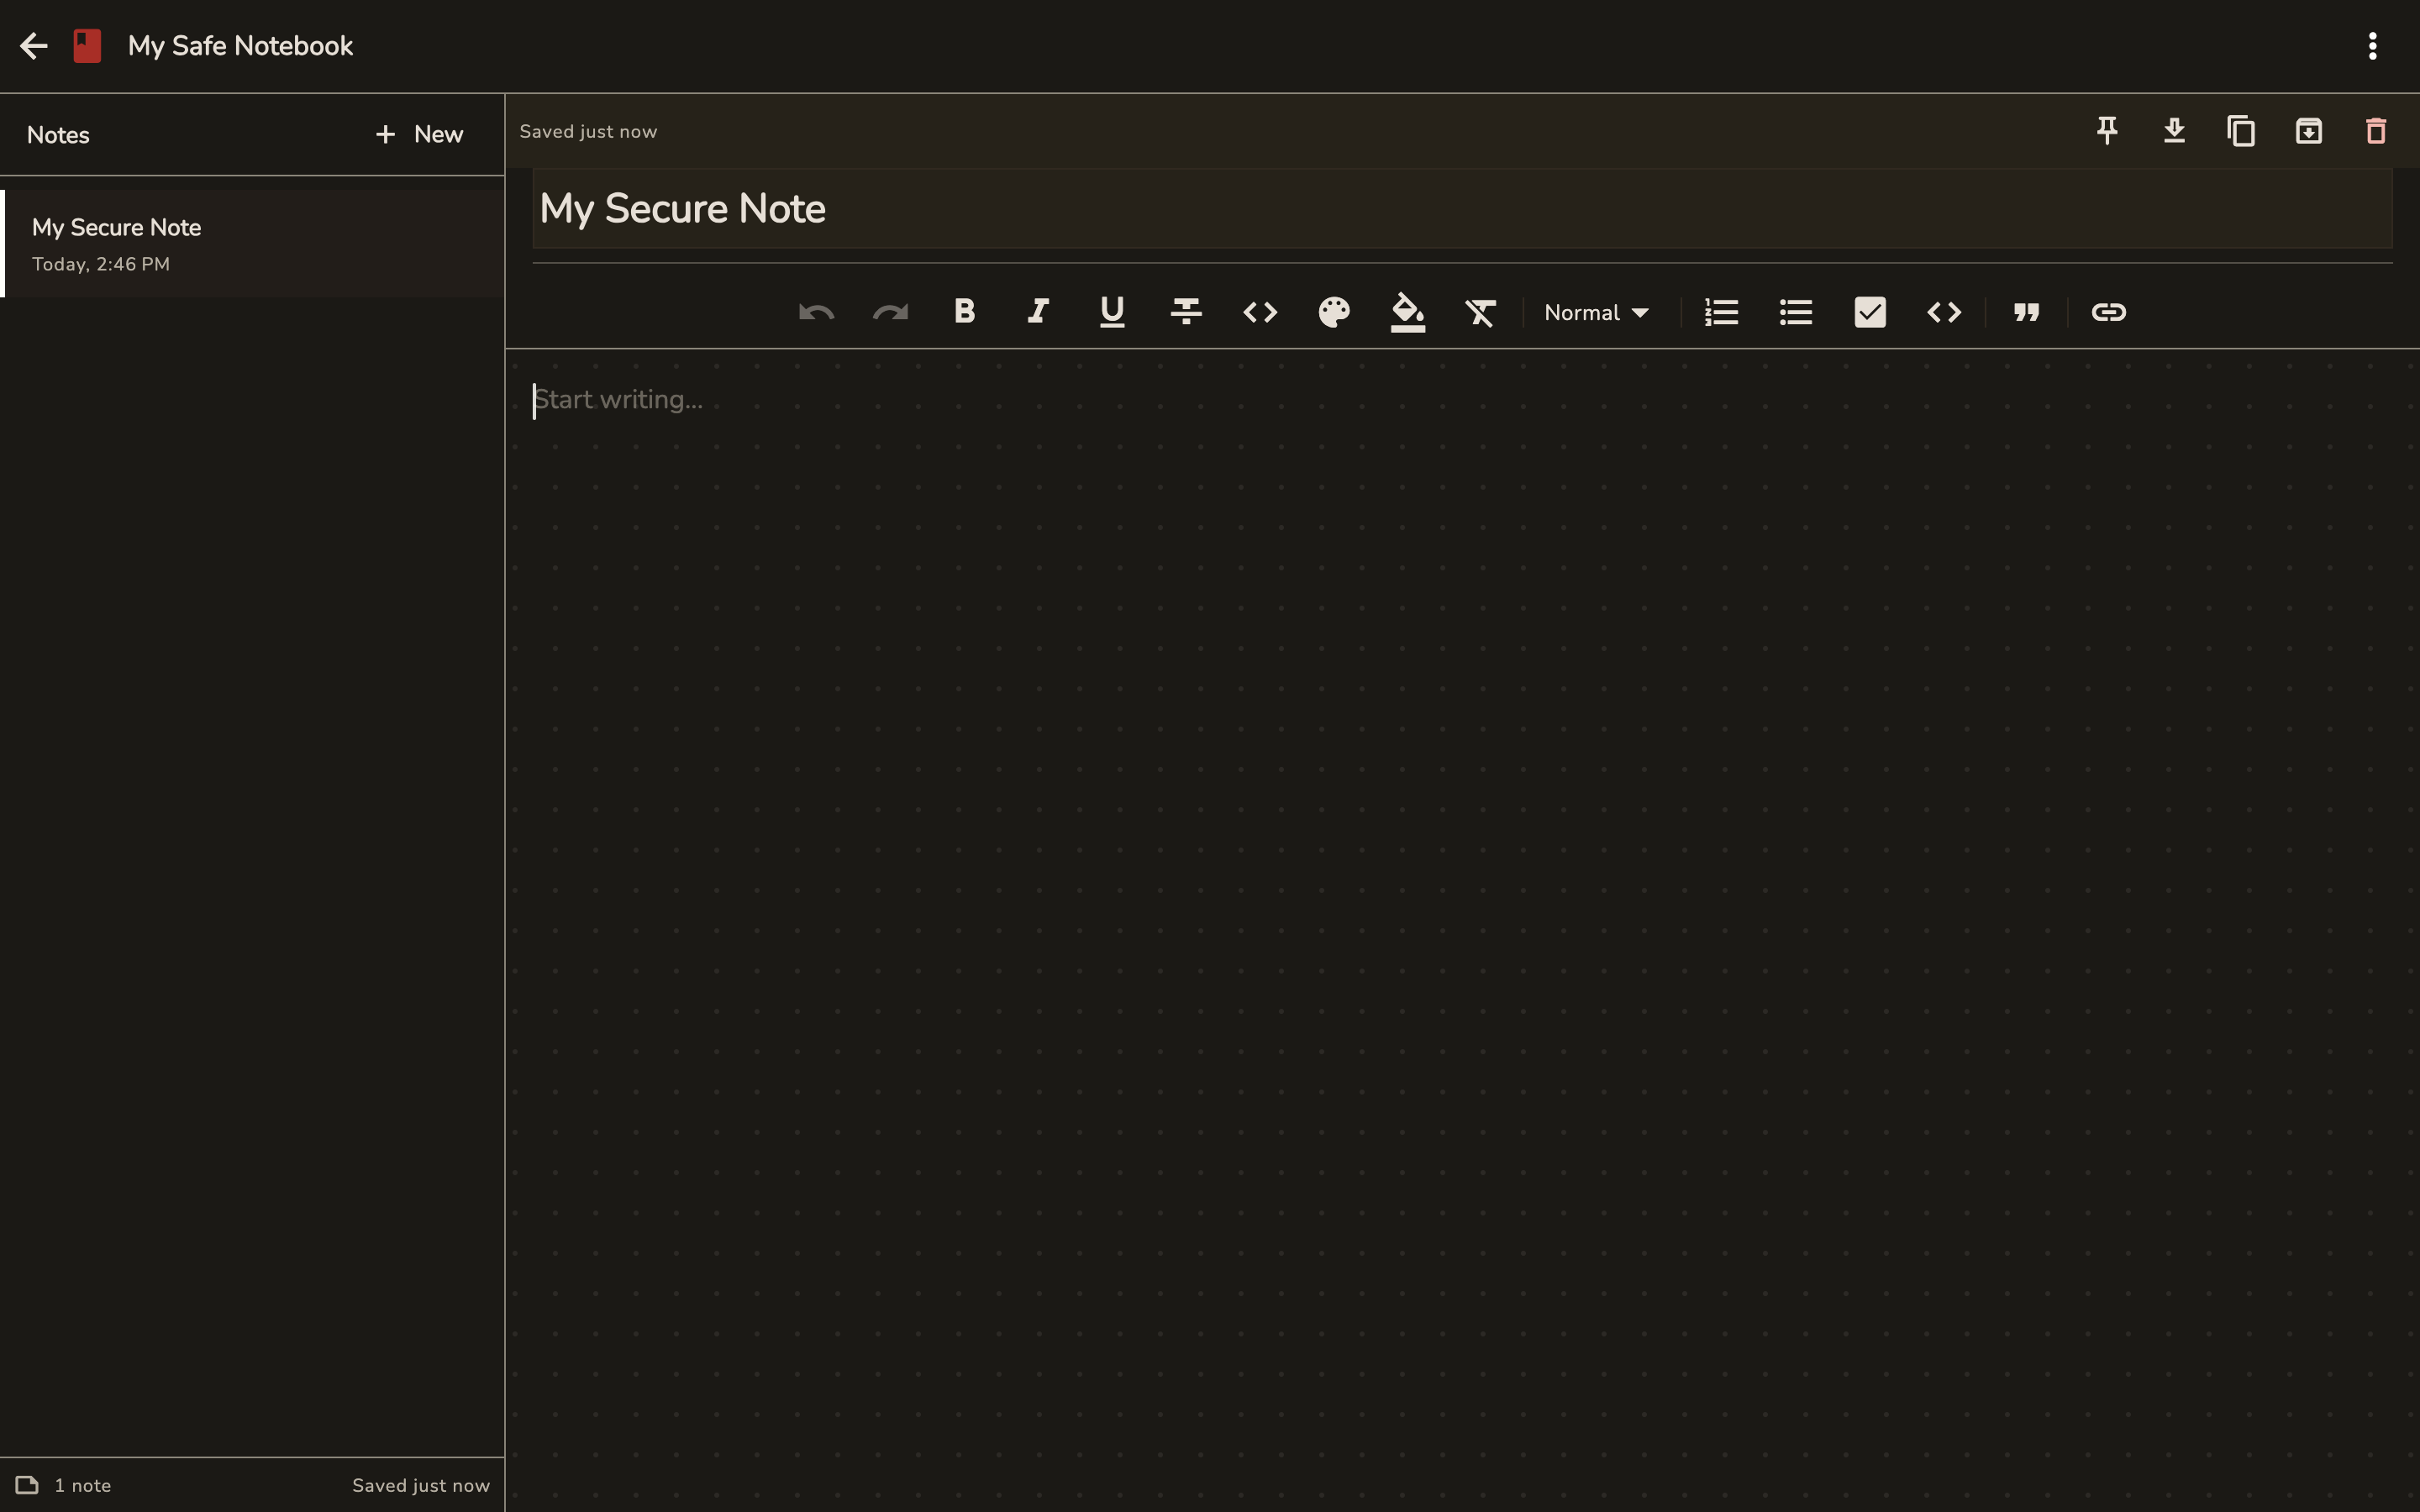
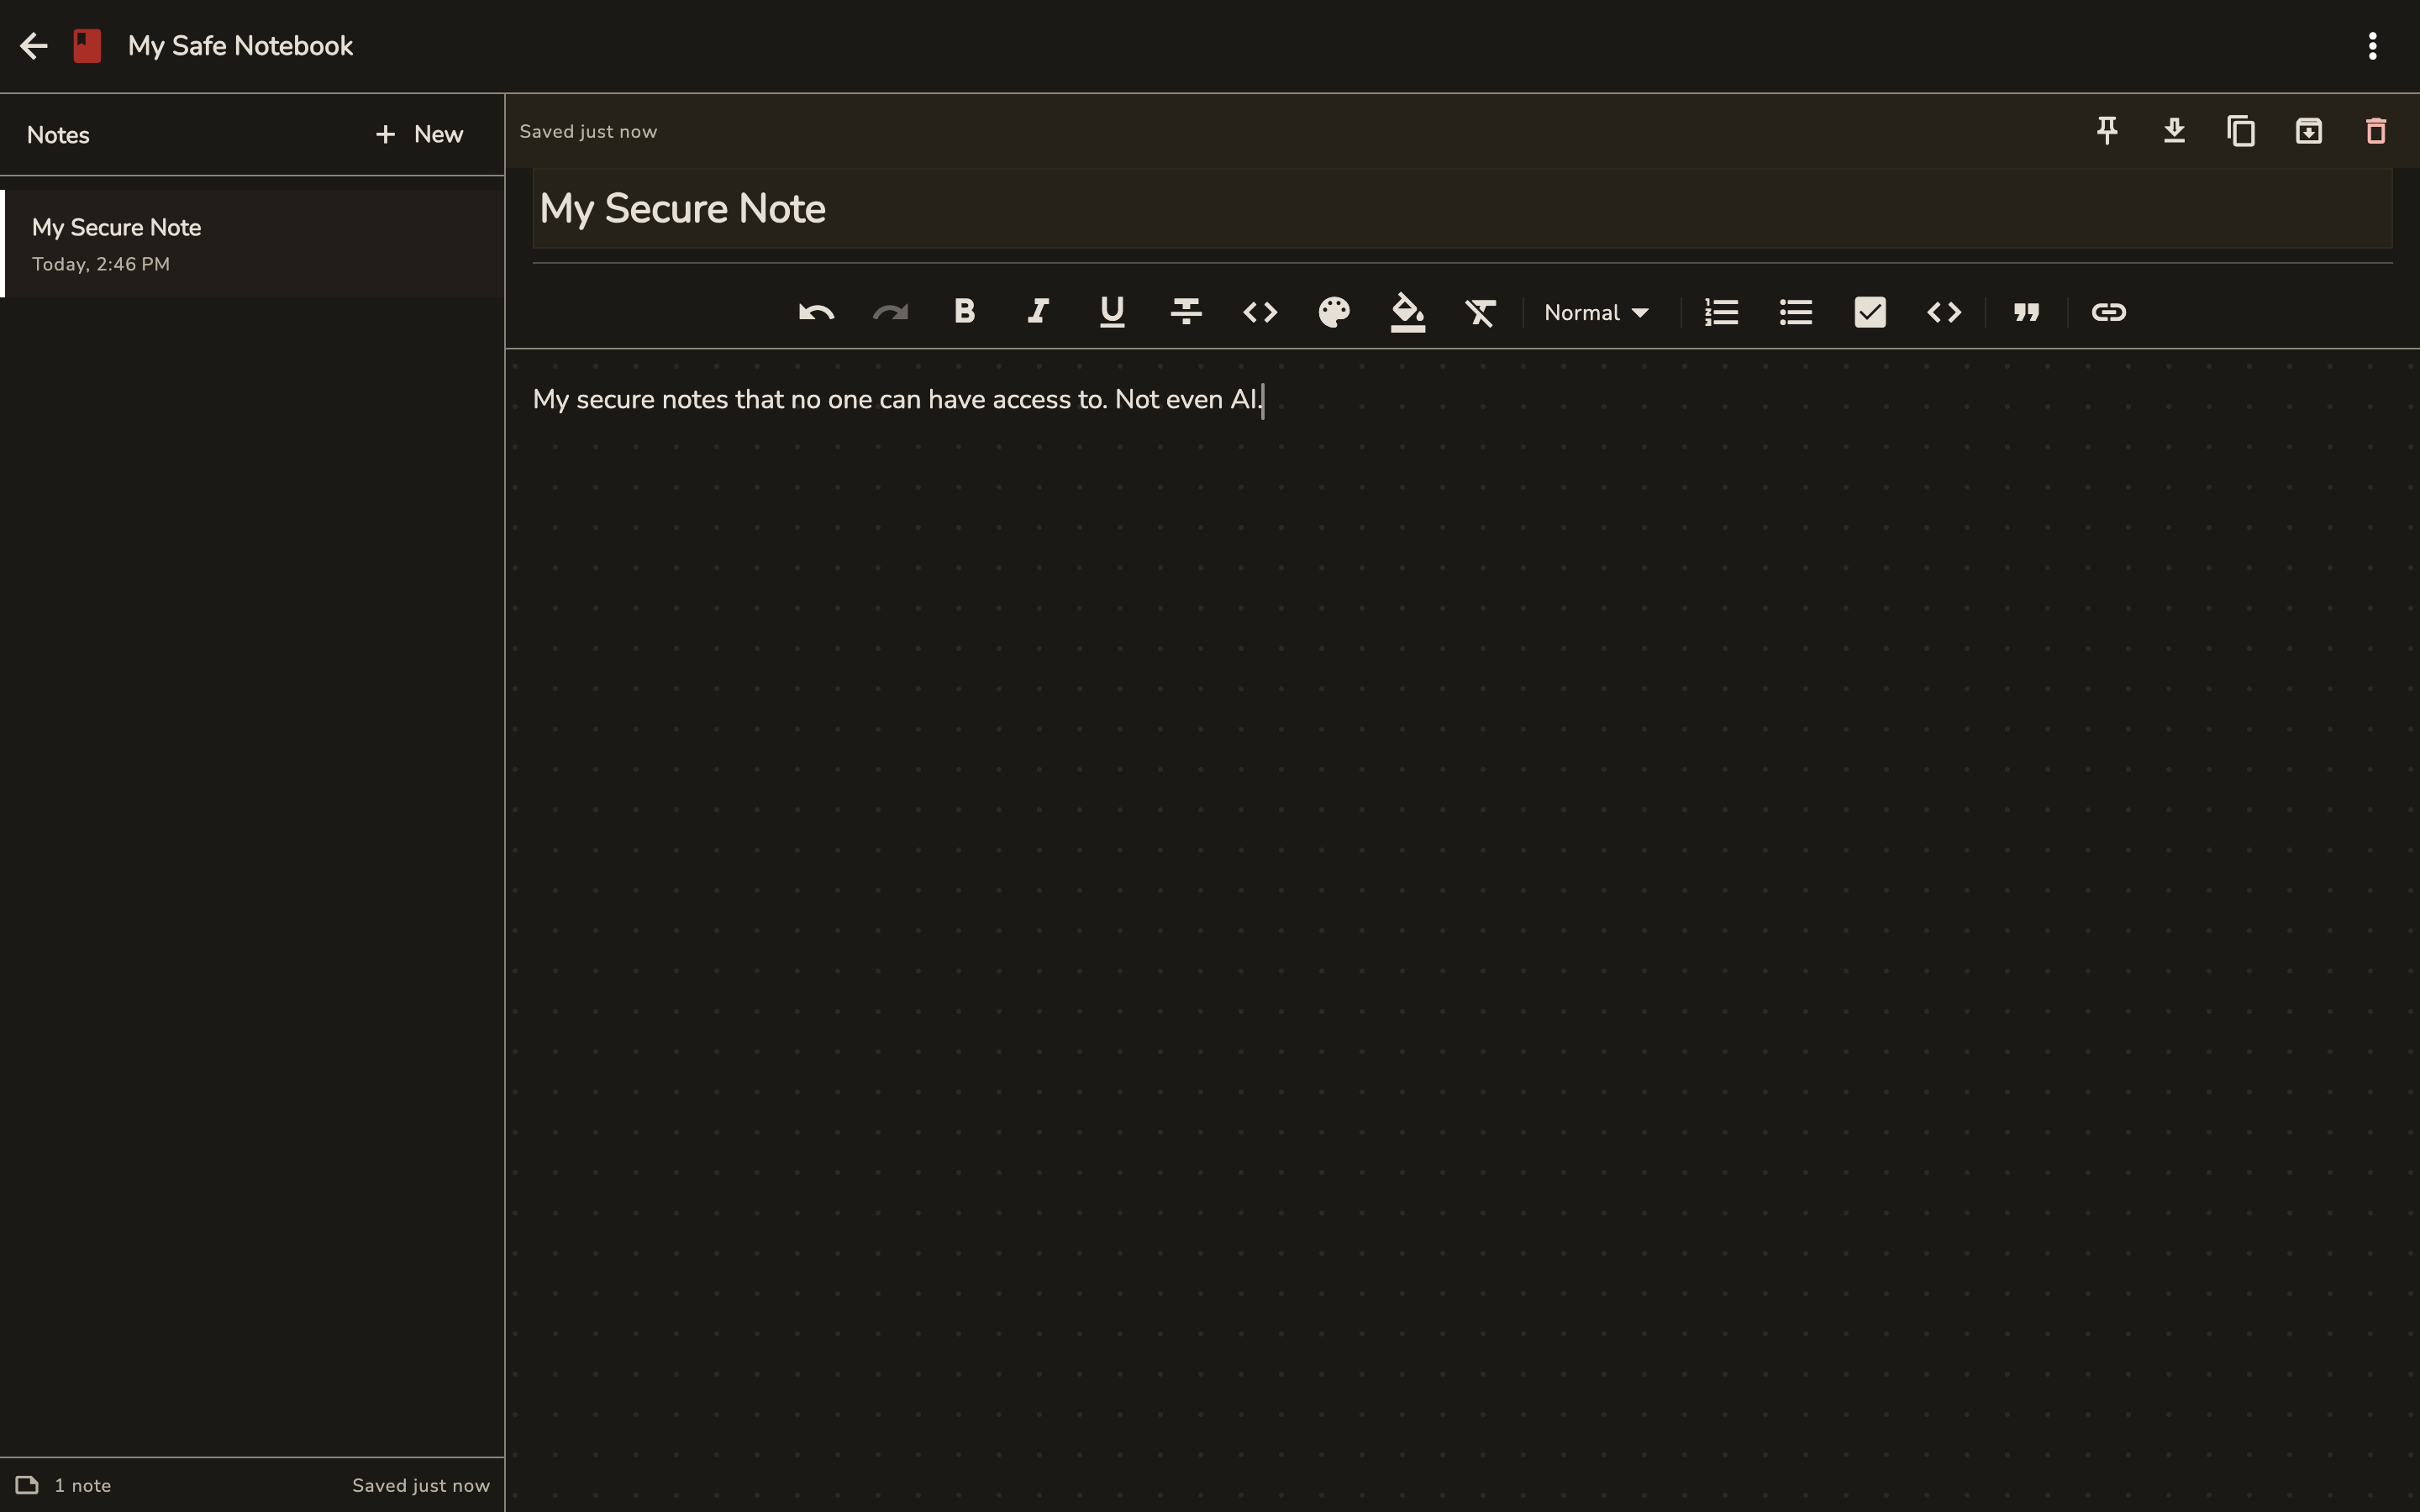
Write Your First Note
- Click the "New Note" button (+ icon)
- Give your note a title
- Start writing!
- Your note is automatically encrypted and saved
Understanding Workspaces
Witflo uses workspaces (also called vaults) to organize your notes into isolated, encrypted containers.
- Each workspace has its own master password
- Notes in one workspace cannot be accessed from another
- You can have unlimited workspaces
Example use cases:
- Personal workspace for private thoughts
- Work workspace for professional notes
- Project workspace for specific initiatives
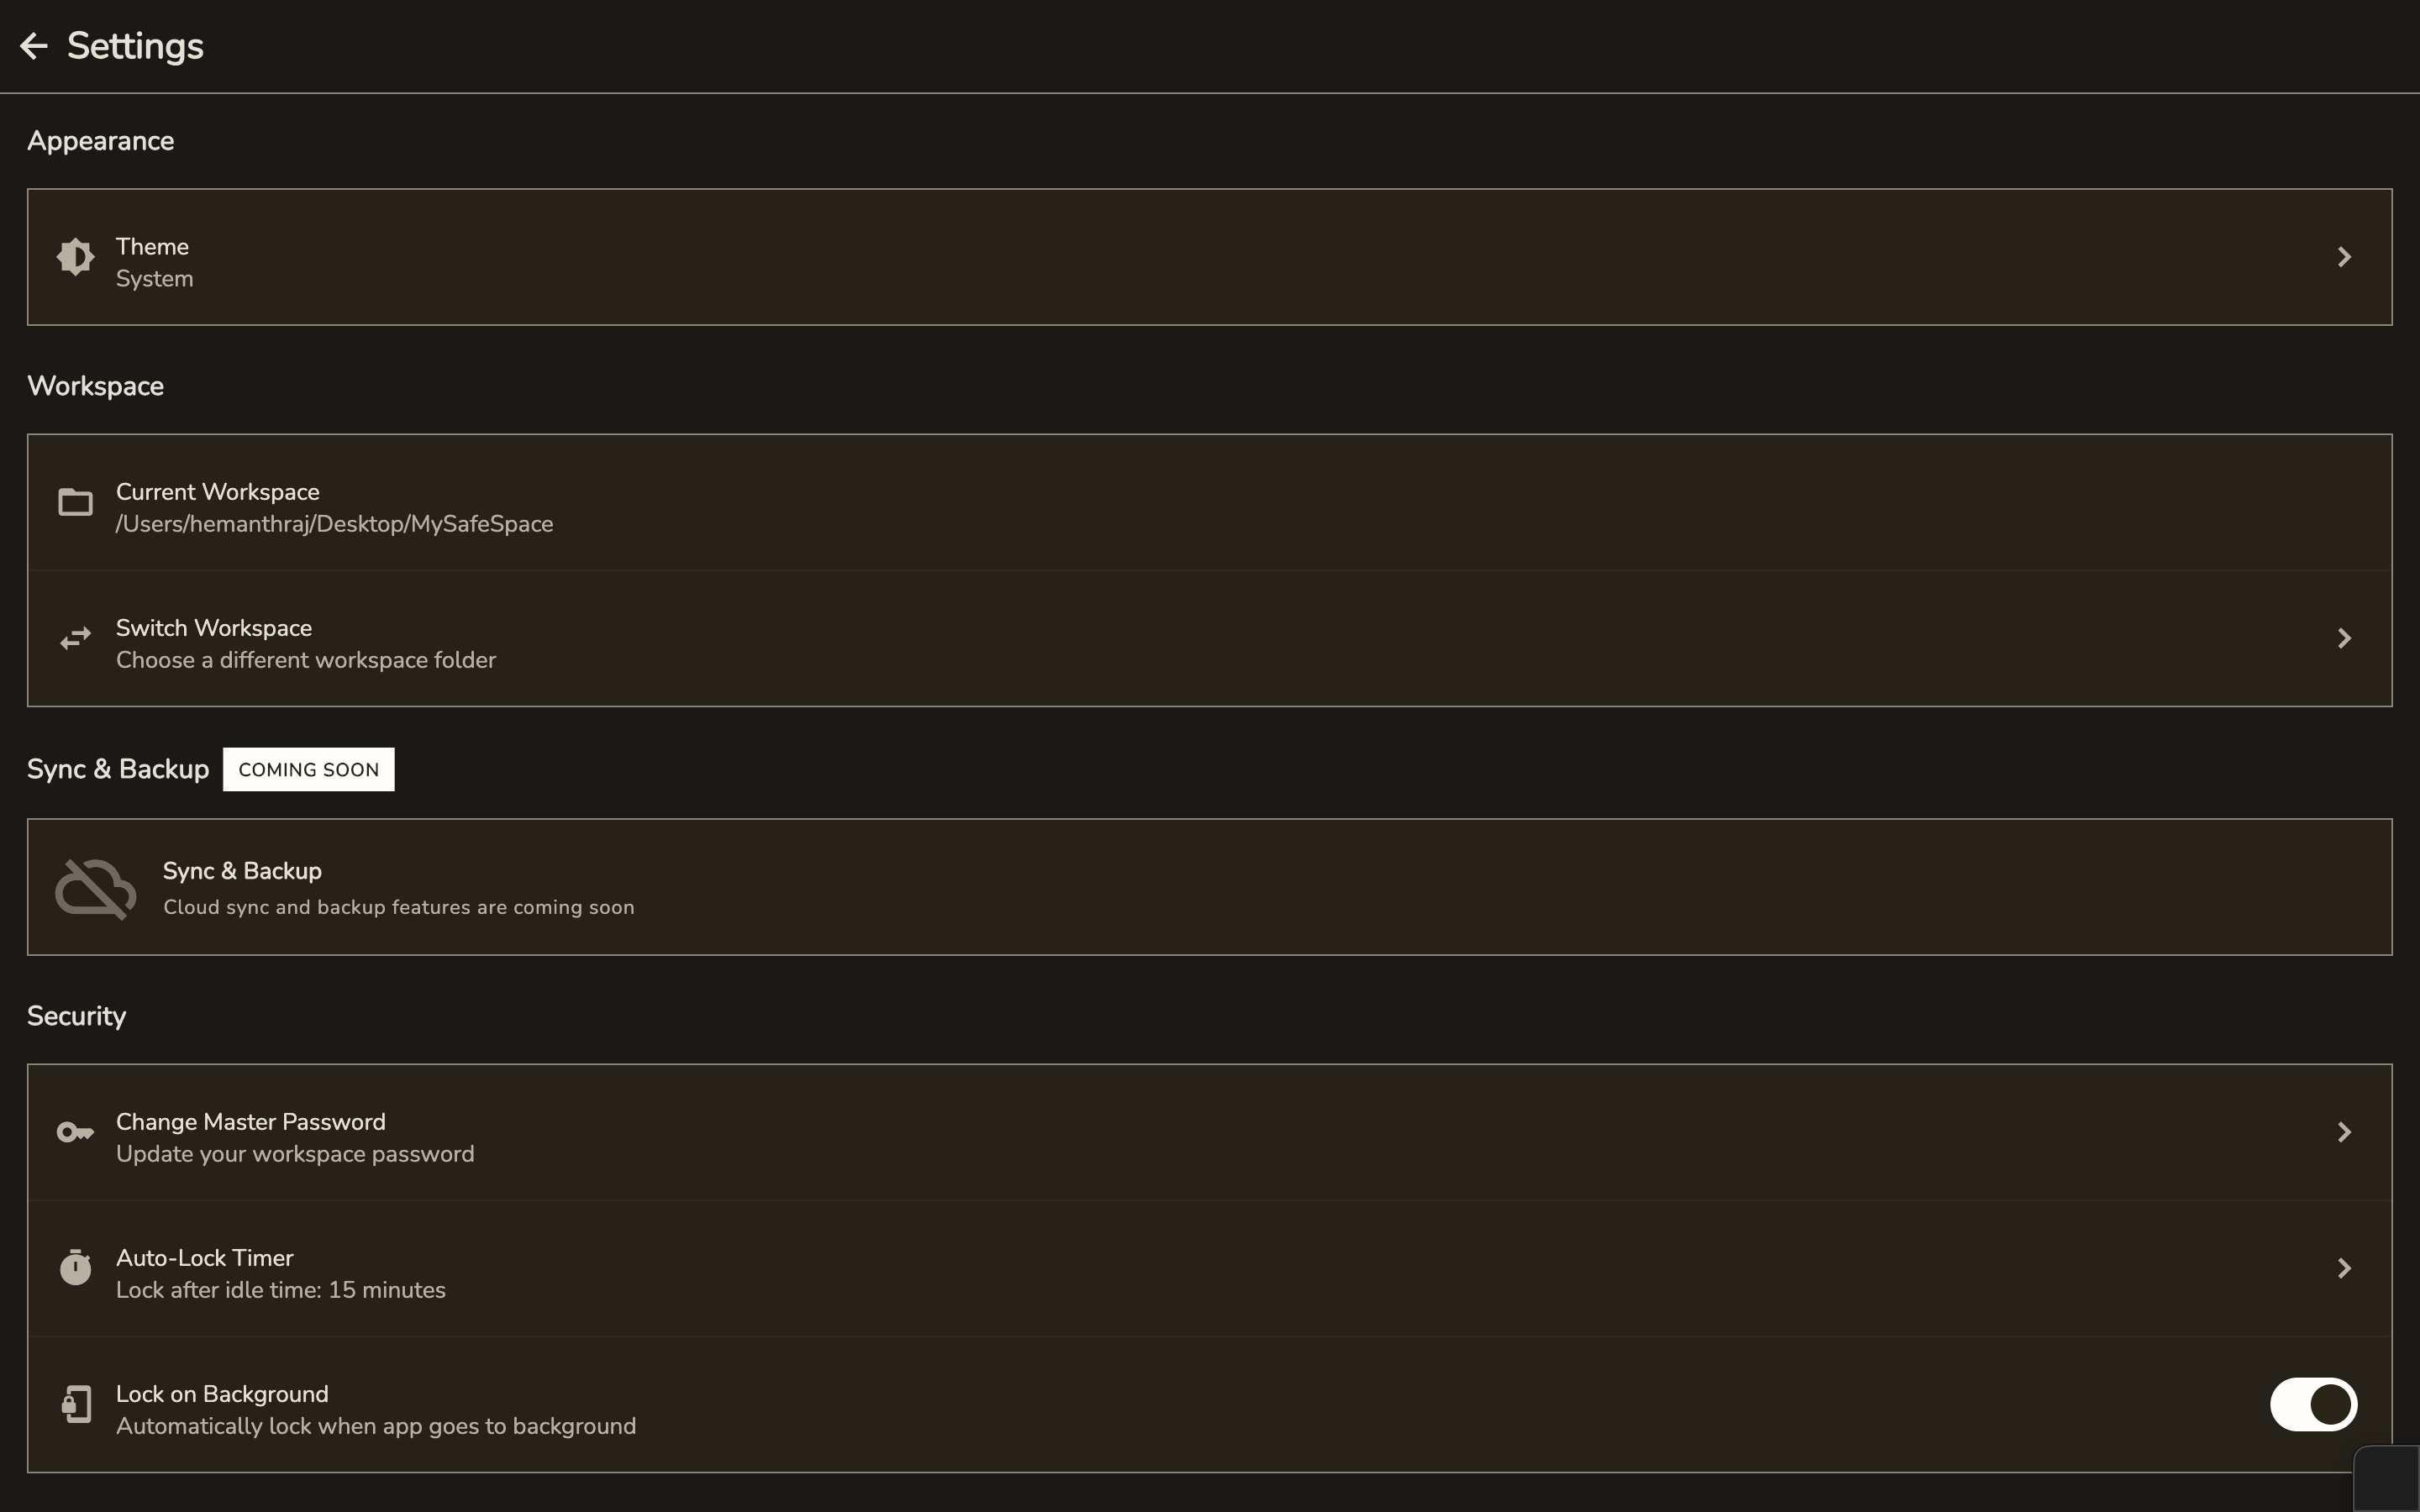
Auto-Lock Feature
For security, Witflo automatically locks your workspace after a period of inactivity.
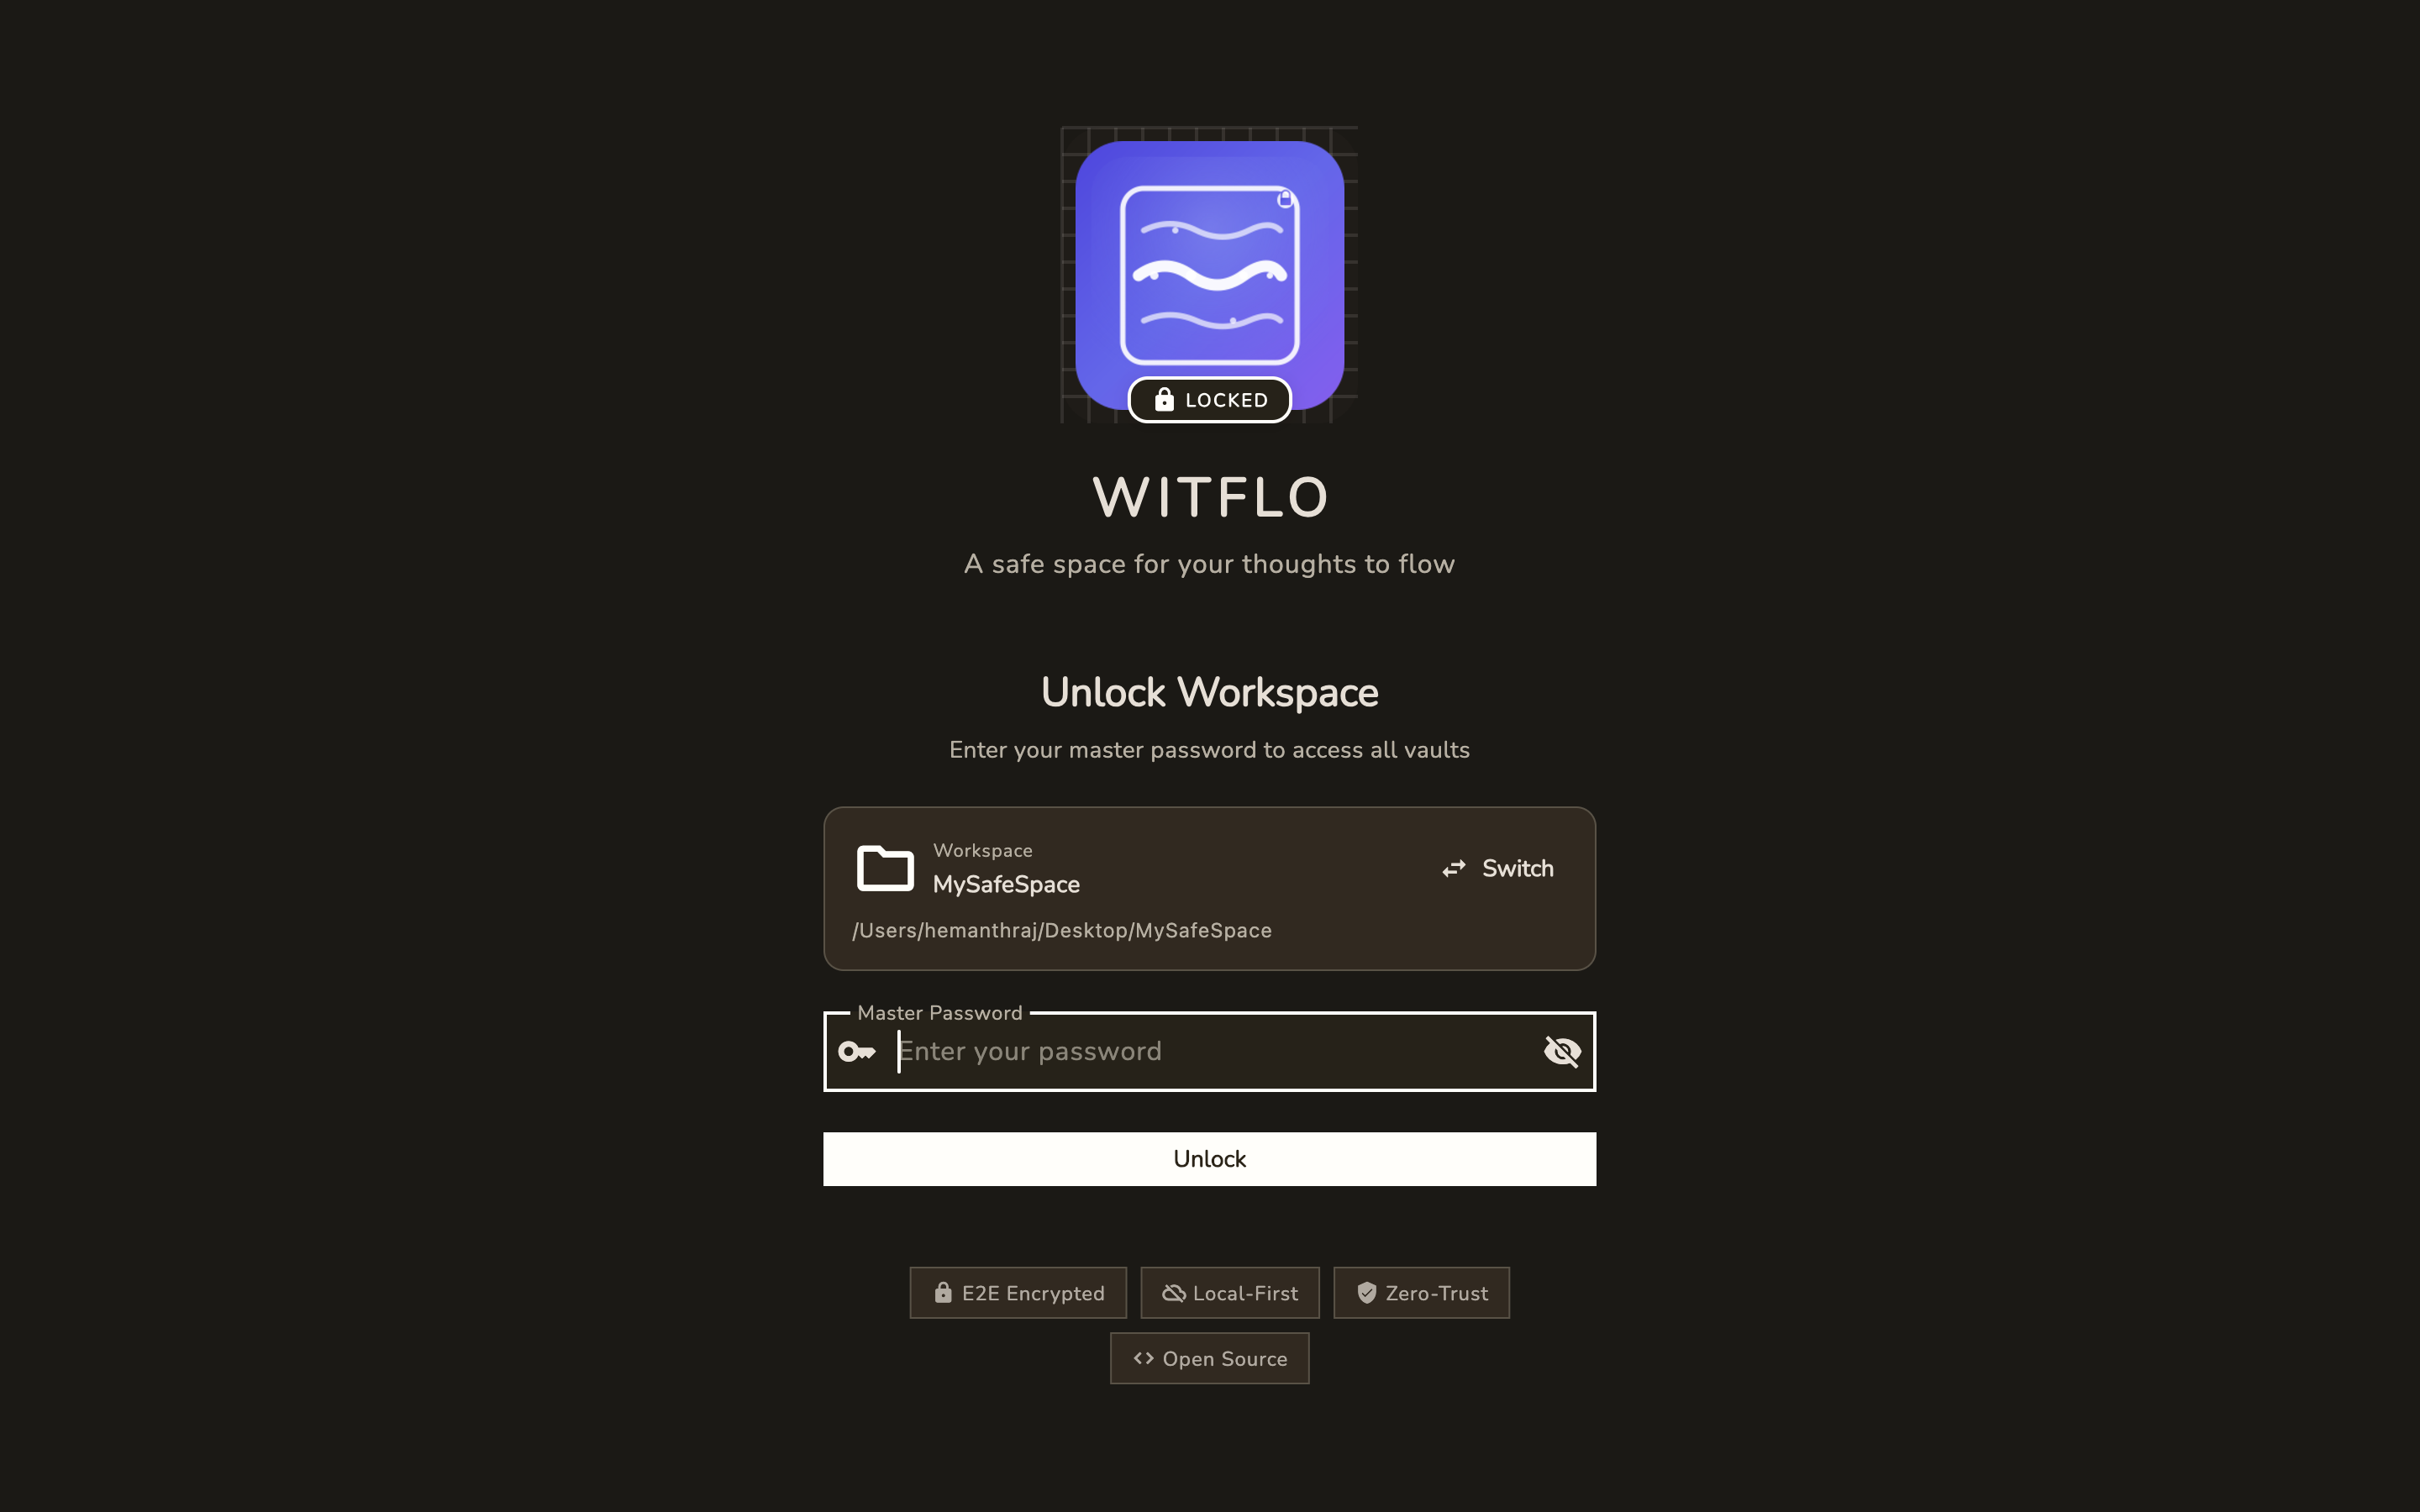
- Default: 15 minutes
- Configurable in Settings
- All encryption keys are cleared from memory when locked
Settings & Customization
Access the settings to customize your Witflo experience:
Next Steps
- Learn about Features to discover what Witflo can do
- Read about Security to understand how your data is protected
- Check the FAQ for common questions
Need Help?
If you encounter any issues, please open an issue on GitHub.